You have to try these easy, yet magical, floating chalk prints!
Floating chalk prints are a super cool process art activity that is great for kids of all ages and has magical, beautiful results!
“I remember doing this activity in art at school” I told my kids.
“My art teacher was really cool, kinda weird, and quirky, and the art room was always a mess, but we did all kinds of cool things like this.”
I have such fond memories of that art room at my primary school, back when I didn’t care if I could make art that was ‘good enough’, back when it was just fun to explore, and glue, and draw, and paint, and create.
I know my big kids have the same sort of memories about their school’s art room, and their wonderful art teacher, and I hope they hold on to them for a long time to come.
The way the chalk swirls around on the surface of the water is mesmerising, and you never know quite what you’ll get when you lift the paper to reveal your masterpiece.
This is a great art activity for kids of all ages that focuses on the process, but also has a beautiful product. There are lots of opportunities to learn about, and experiment with, scientific concepts such as floating and sinking, and surface tension with your kids while doing this art activity. Plus it’s also really satisfying to scrape flakes of colour and watch them scatter across the surface of the water!
The technique for this printing activity couldn’t be more simple, so even little hands can join in this activity with great results.
How to Make Floating Chalk Prints.
You’ll need a fairly large area to make these floating chalk prints, and lots of space to dry your artwork flat, but most of the supplies needed you will be able to find around the home.
To make your own floating chalk prints you’ll need:
- Some chalk pastels or regular chalk.
- Some paper
- A shallow tub that the paper fits in filled with around a centimetre or two of water.
- Something to scrap the chalk – we used plastic knives.
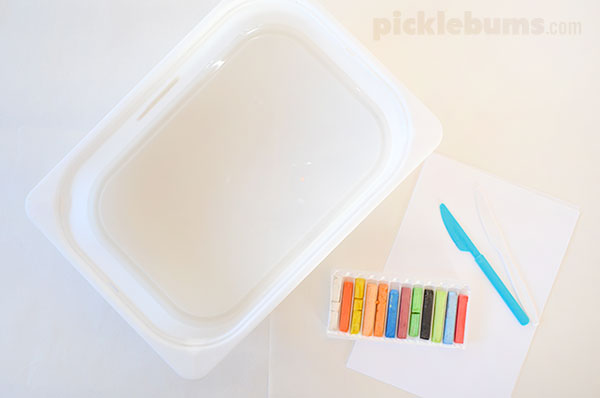
We used soft artist chalk pastels to make our prints, but you could also use regular blackboard chalk, just make sure it is good quality and has lots of coloured pigment in the chalk so you get bright, colourful prints.
You’ll need paper that fits inside the tub you are using, and most paper will work fine. We used regular A4 sizes printer paper.
Begin by filling your tub with water, it doesn’t need to be very full, just enough to cover the bottom of the tub. We used an Ikea trofast tub with a few centimetres of water in it. If you are having trouble with your chalk flakes sinking, try mixing a small amount of dishwashing detergent into the water to help the flakes float better.
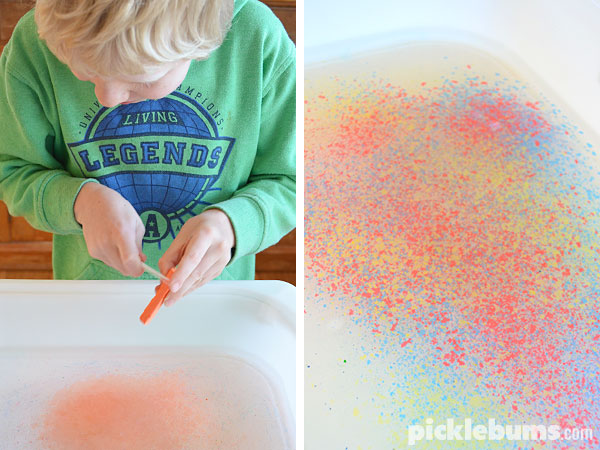
Choose a chalk and carefully but firmly scrape chalk onto the surface of the water. We used a plastic knife to scrape down the sides of our chalk pastels which worked really well and was safe for little hands. You could try a variety of different tools for scraping to see which ones work best, but you are looking for something that makes a fine dust, not big flakes.
The coloured chalk dust should float on the top of the water, and you can add more layers of chalk dust in different colours. Don’t worry if a little chalk sinks to the bottom, as long as there is still lots floating on the top.
You can use a skewer to swirl and mix the colours if you like, but be quick and gentle, you want most of the chalk to stay floating on the surface of the water, if it gets too water logged it will sink.
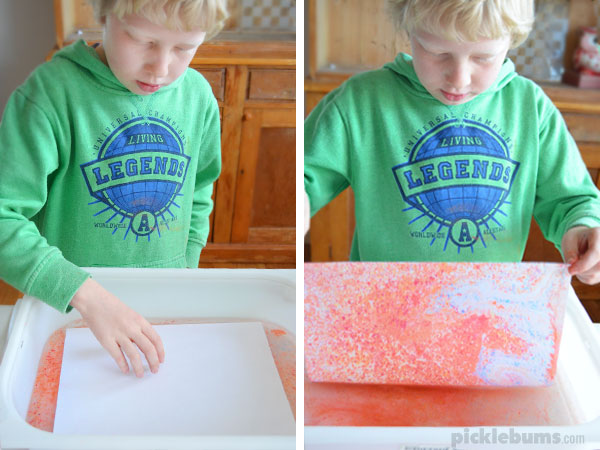
After a minute or so gently lift the paper off the top of the water to reveal your beautiful floating chalk print!
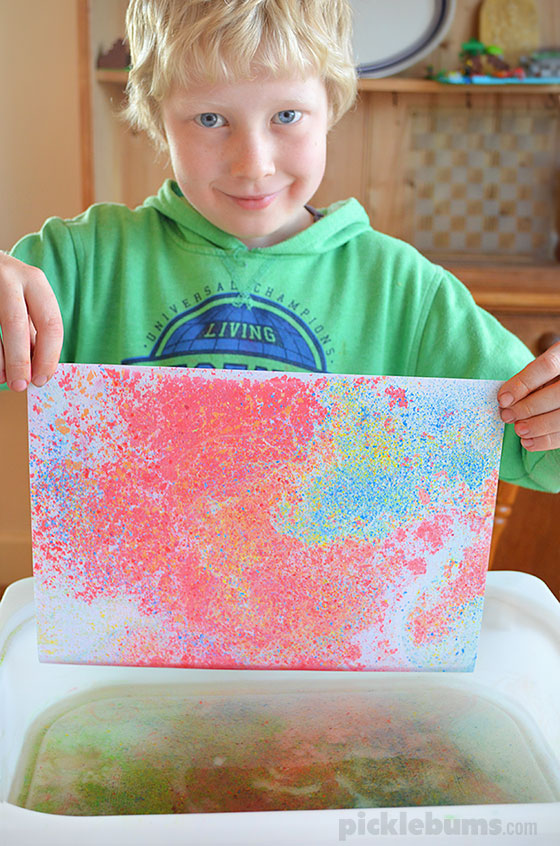
The prints look magical!
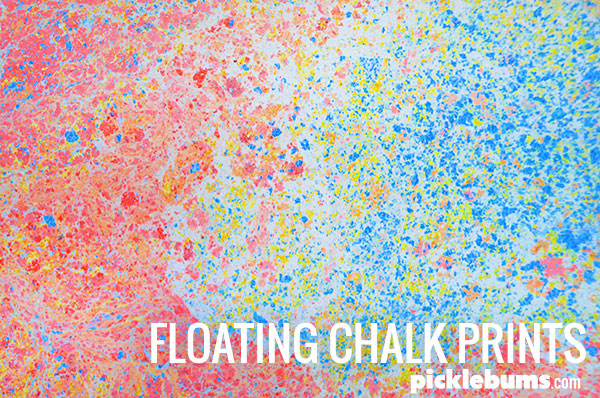
The paper is covered in speckled, swirling, spots of colour, almost like old fashioned marbled paper!
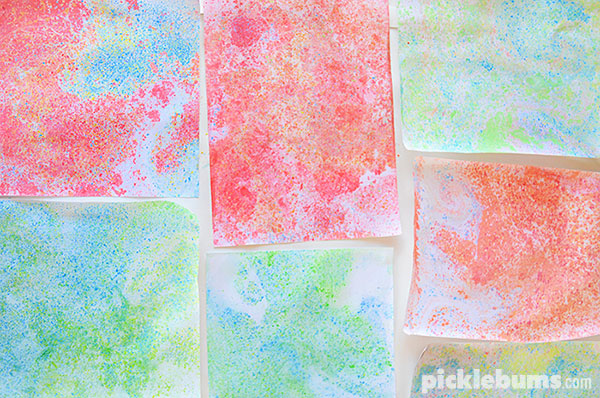
We had so much fun making these floating chalk prints and we absolutely loved the results!
We’d loved to make a really big chalk print so we can frame it and hang it on the wall.
I wonder if we could make them in the bath???
Find more easy art activities for kids here, or try one of these:

This looks brilliant! I always need more rainy day art ideas up my sleeve, this one is definitely going top of the list! Thank you for sharing x
This looks amazing! Thanks for sharing.
I can’t remember doing these at school but they are a great idea. I love things that can turn out so pretty but don’t cost a fortune. Some of those ones you have there I would even frame and hang in the kids playroom to brighten it up a bit. Great activity!
There’s something about memories of primary school art lessons, isn’t there?
Thanks so much for this post- I just tripped over a pile of chalk on the deck this afternoon…. so I know what we are doing tomorrow!
I know you’re in winter right now, but I bet a “baby pool” or plastic wading pool would be awesome for a large scale print. Do you think it might work with fabric… hmm I see an experiment in our future! Thanks for sharing!!
Oh a paddling pool is a great idea!
I’d love to hear how you go using fabric. I was surprised at how well it ‘stuck’ to the paper, I thought being chalk it might rub off. I wonder how it will go on fabric. Post a photo on my facebook page or tag me on instagram (@katepickle or #picklebums) if you have a go!
Sounds like you had an awesome art teacher! I love how beautiful this comes out!
How fun is this! Scraping the chalk, deciding which colors and how much to put in…love it! Thank you!
We tried this today and it didn’t turn out as well as yours. Our chalk kept sinking to the bottom :(.
Oh how disappointing!
We scraped very fine particles of chalk and we used artists chalk which is softer than chalk board chalk, maybe that made a difference?
Have you tried having the kids draw with white crayon on the paper prior to dipping it in the water? I’m just wondering if it would resist the water/chalk combination… If I find time to try it, I’ll let you know! :)
try adding a little liquid soap to help chalk float longer
Instead of making them in the bath (!) perhaps you could collage them onto a bigger sheet! I can’t wait to do this with my grandchildren! Nana camp is around the corner!
I wonder how dry poster paint would work?
That is an interesting suggestion! I will have to try it!
One way to make a bigger version would be to use a kid’s swimming pool!
This was a lot of fun. I had my class (5/6) and our reading buddies (1/2). All the kids wanted to try it!! My only issue is what to do with it when it dries. If you touch it, it’s just chalk and it falls off or smudges… Maybe if we mix in some glue? Or find some way to coat it? Last resort would be to laminate as soon as it’s dry. But the kids looooooved it!!!
You can use a fixative spray, or even hairspray works ok.
I love this art project…we always did this in the Spring using pastels with my preschoolers. We found adding a small bit of white sugar to the water prior to the chalk dust kept the dust suspended longer.
That’s a great tip! Thanks for sharing!
Wondering if this would work on canvas instead of paper? Also wondering if you could somehow stop it from sticking to some areas so you could put other shapes or a quote onto the finished picture. Very interested in trying these.
Oh those are interesting ideas! Let us know how you go if you try them!
What type of paper did you use?
We just used regular printer paper.