
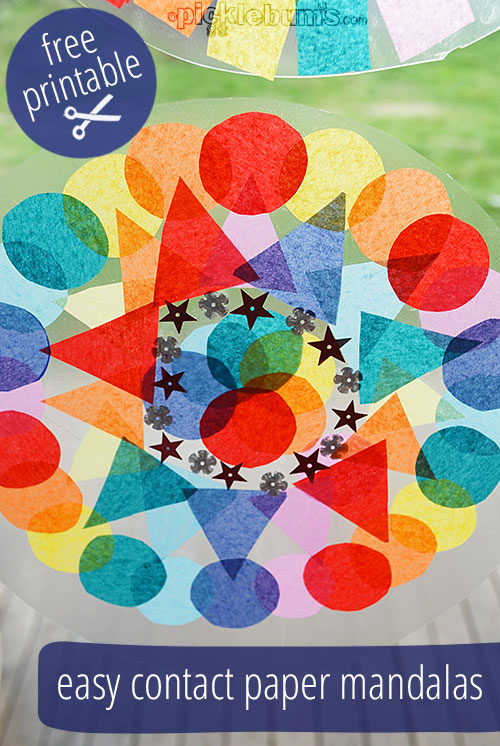
Easy Contact Paper Mandalas
Make these simple, yet stunning, contact paper mandala suncatchers with your kids and fill your home or classroom with gorgeous vibrant colours and patterns.
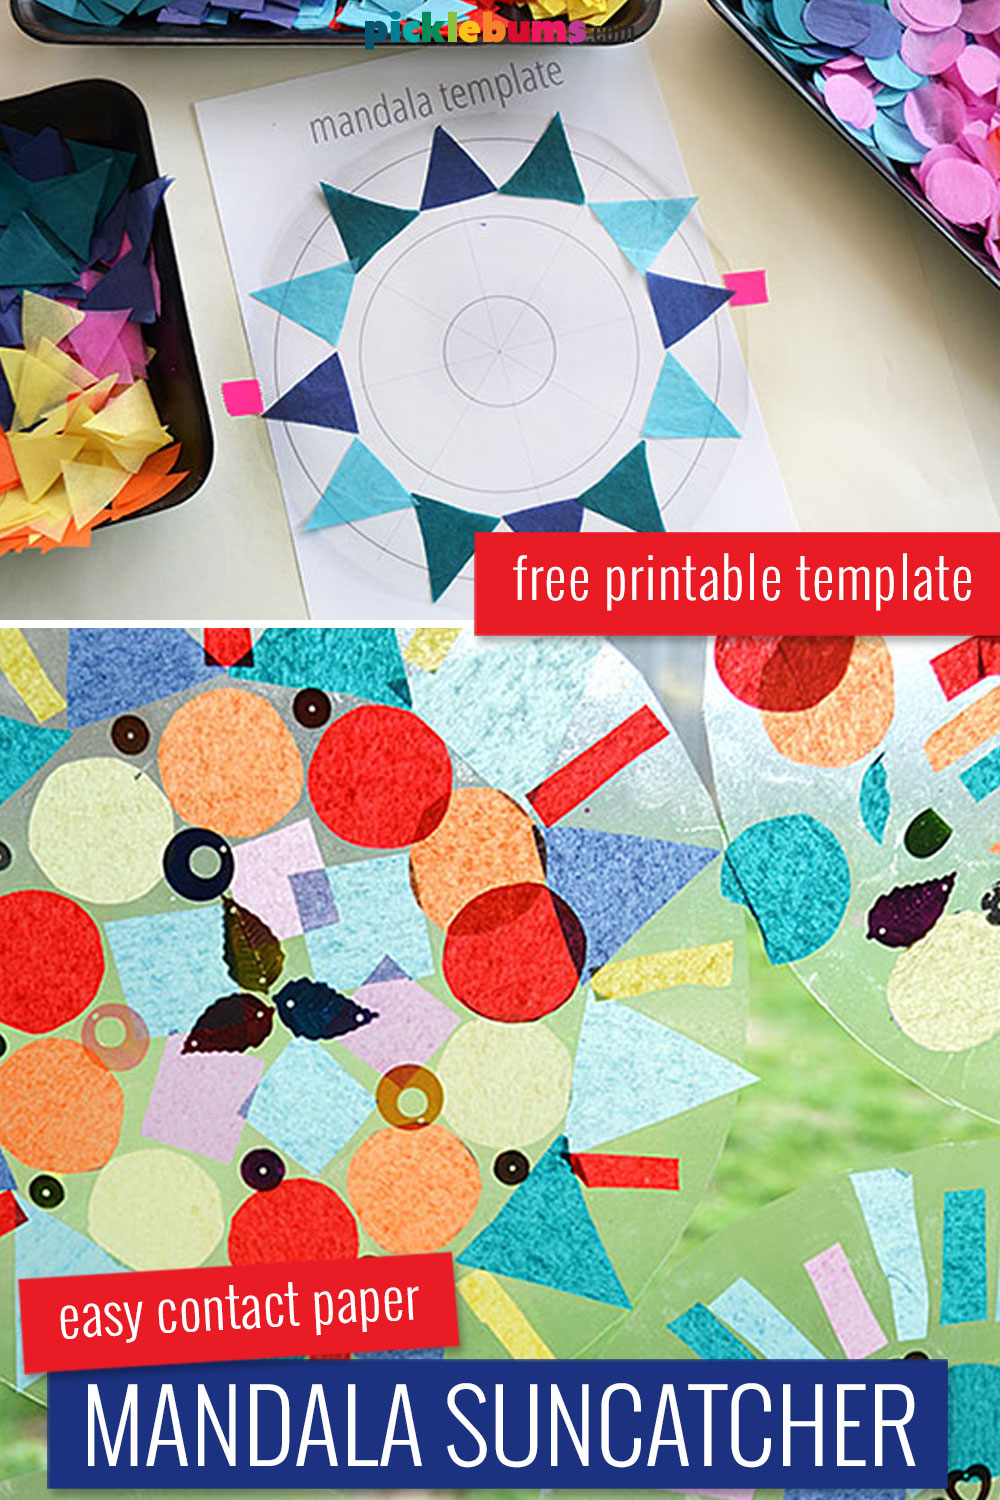
All you’ll need is some sticky backed contact paper, some tissue paper and our free printable mandala template.
I have a bit of ‘thing’ for mandalas. I love the symmetry of them, and the patterns, and circles within circles. There is just something magical about them.
I seem to have passed on my mandala love to my kids too, as they were all super keen to have a go at this easy contact paper mandala activity.
For an even quicker and easier mandala activity, try free printable shape mandala drawing templates. You even try using one of these templates for this activity and making tissue paper mandalas in different shapes!
Supplies for Making a Contact Paper Mandala
The beauty of this mandala craft activity is that you only need a handful of supplies to make it. There is no glue required, so there is less mess, so you can fill your windows with glorious mandalas!
To make your own contact paper mandalas you’ll need:
- Contact/Self adhesive paper.
- Tissue paper cut into various shapes
- Sequins (optional)
- Mandala template (optional) – see below to download.
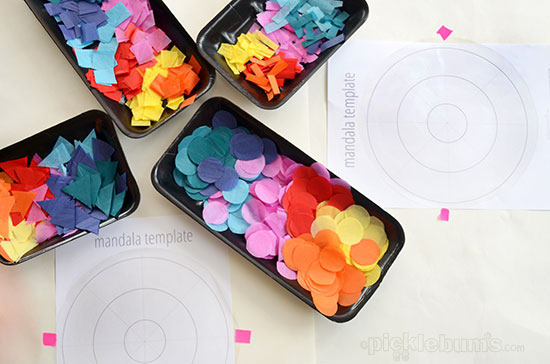
If you are crafting with toddlers and preschoolers you might like to pre-cut the tissue paper into some basic shapes. Or you could cut the tissue paper into thin strips to make it easier for little hands to cut. Older kids can cut out their own selection of circles, squares, triangles and whatever other shapes they like from the tissue paper.
I got my kids to cut some shapes while I printed out a few copies of our mandala template.
Free Printable Mandala Template
If you are keen to create mandalas with repeating patterns and symmetry, then the printable template comes in handy. It can also be a good starting place for a reluctant crafter, but you can create your mandalas ‘free hand’ without the template just as easily.
The Mandala template is simply three concentric circles, divided into 8 sections. It’s a great starting point and an easy way to keep your mandala’s circular and symmetrical.
It is an A4 sized pdf file, so you will need a pdf reader such as adobe acrobat to open it. It will fit to print on US ‘letter sized’ paper, just be sure to select ‘fit’ or ‘shrink to fit’ from your printer options to allow for printer margins.
Click here to download the Mandala Template
Please remember that the printables at picklebums.com are for personal use only, you may not sell, share, or link directly to these files.
How to Make Contact Paper Mandalas.
One you have gathered all your supplies start by preparing the contact paper.
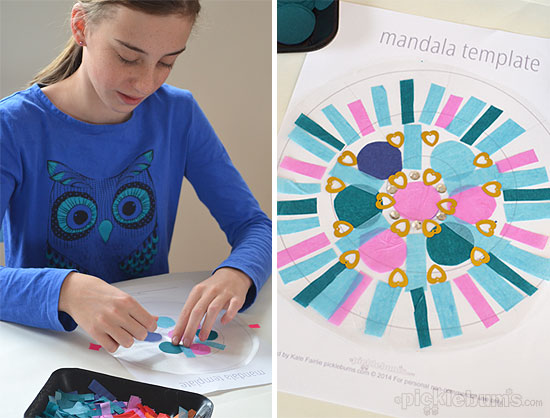
Use a plate, or other round object, to draw circles onto the back of the contact paper, and cut them out. Peel off the backing paper and tape them sticky side up, on top of the templates with just a tiny piece of tape on each side.

Now you are ready to get creative and add some tissue paper to make a mandala.
Using the contact paper means you don’t need to fuss around with glue, so the mandalas are created quickly and easily. It does mean that when you put the tissue paper down it is stuck in that spot forever, even if you change your mind, so it’s a good idea to discuss that with your kids before they begin. For my kids, this started out as a problem, but led to some interesting experiments with overlapping colours, and some lateral thinking to change ‘mistakes’ into master pieces.
Making mandalas is a great way to learn about symmetry and repeating patterns. I just love it when art and maths combine!
Some kids will love carefully creating a symmetrical design, but there is also joy in making pictures and other designs with the shapes, and little hands will feel successful sticking whatever they want, wherever they want to make bright patterns and creations.

I love an activity like this, where there are no rules, and everyone can do their own thing and enjoy the process of creating. It’s perfect when you have a group of children of differing ages or abilities as everyone can join in and be successful.
But be warned – you’ll be cutting out more and more contact paper circles because there is no way you can make just one of these contact paper mandalas!
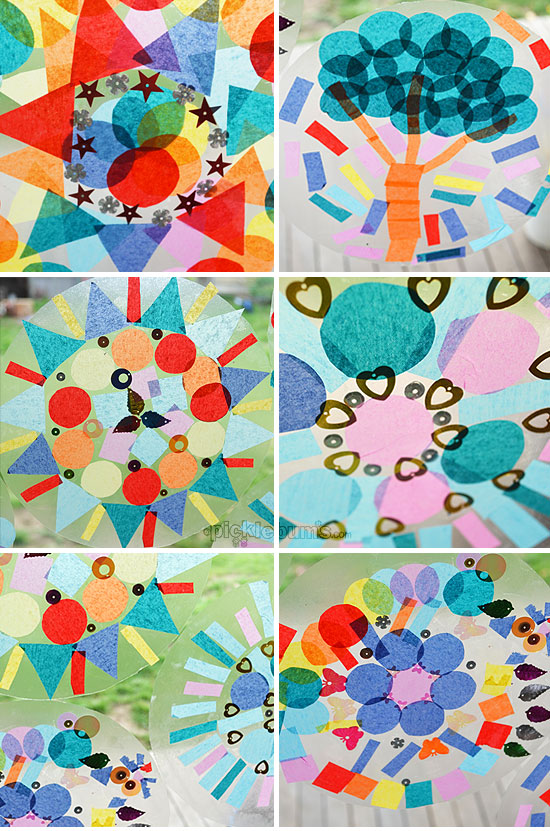
You can use any kind of paper to make these mandalas, but we chose to use tissue paper for this activity because of it’s translucent properties. When you are done making your tissue paper mandalas you can simply stick them up onto a window and you have an instant mandala suncatcher!
If you have some left over tissue paper you might like to try one of these tissue paper crafts.
We displayed our mandalas on our large glass sliding doors and they looked gorgeous with the sun illuminating all the bright colours!
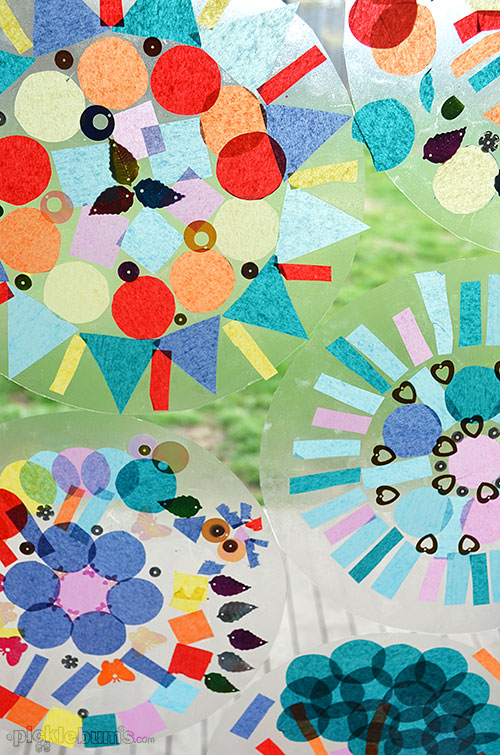
You can also stick your contact paper mandalas onto a large sheet of paper to display them. Mandalas made with brightly coloured craft paper and sequins would look amazing on a black background!
We’d love to see your contact paper mandalas!
If you give this fun mandala craft a try, we’d love to see the results!
Feel free to share a photo on my facebook page, or tag me @picklebums on instagram so we can see all the brightly coloured mandalas!
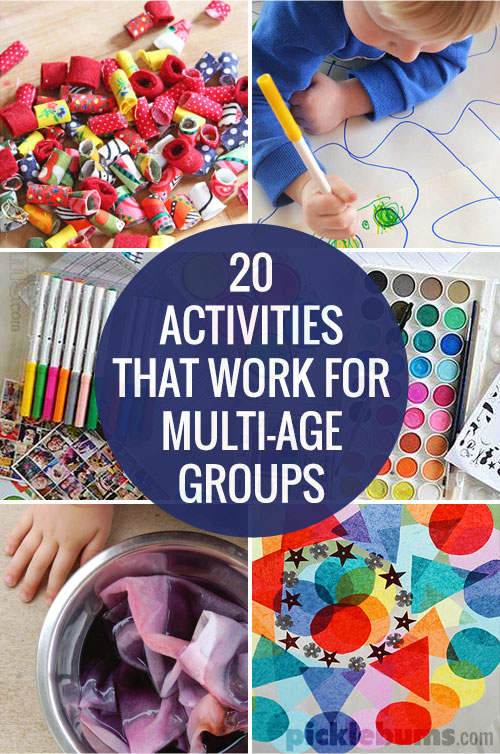
If you are looking for more activities and ideas that work with groups of kids of different ages, check out these ideas for multi-aged groups.
What a fun activity! My boys would love doing this!
This is such a great idea! And it takes me back. We made something similar to this when I was in school. I could never cut straight and mine always turned out awful! Nowadays, the only time I break out the self adhesive contact paper is when the kids want to make paper turkeys at Thanksgiving. That much I can handle! I’m jealous of your cutting skills!
Love these Kate. They look just gorgeous!
These are beautiful! I love the patterns and designs your kids came up with too!
These are fantastic!
Clever idea to use the template underneath to keep them symmetrical! Pinning :)
Nice idea!!!!!!!
love these!! Just love them.
These are so pretty. I think even my 2 year old would have fun with this!
Gorgeous! I want to do this myself. ;)
These are really cute and I’m definitely going to make them with my grand. To tell the truth, I’ve never heard of clear contact paper, so I’ll look around. My grand has something called Sensory Processing Syndrome, so I don’t know how long she’ll be “interested”, but I will certainly give it a shot. Thanks for the project.
do you put another circle piece of contact paper over it when you are finished?
You can, but we stuck ours on the windows as sun catchers, so just stuck it sticky side to the window!