I love doing activities and art with my kids, but I’m all about the easy.
It’s got to be easy to set up, east to do, and easy to clean up, so that the focus is on actually enjoying the activity. This goes double for holiday activities, I’ve got enough on my plate without taking on some fancy holiday craft activity!
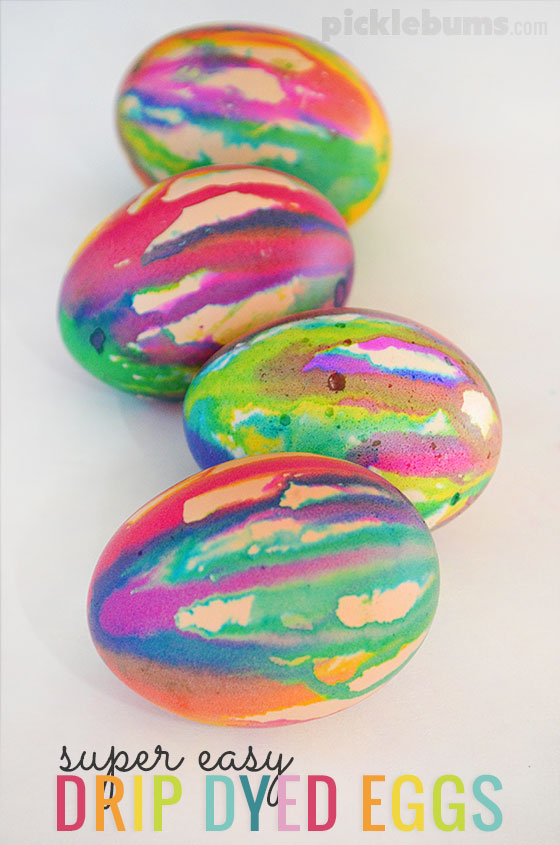
I have to tell you, these dyed eggs may look fancy, but they are so freaking easy to make, even those of us who are a little ‘craft challenged’ will enjoy making these drip dyed Easter eggs.
To make your own drip dyed Easter eggs you’ll need:
- Eggs – hard boiled, blown or uncooked if you dare!
- White vinegar
- Liquid water colours or food dye
- Eye droppers/pipettes, or even a spoon
- Somewhere to rest your eggs
- Something to cover your surface
- A smock or apron
- A damp cloth for clean up.
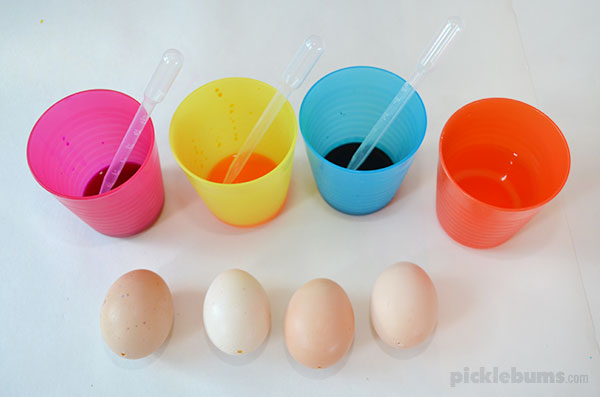
We decided to blow our eggs before we dyed them, which was hilarious fun on it’s own, but you could use hard boiled eggs, or even raw eggs if you dare! As you can see from the photos, our chickens don’t lay particularly white eggs, we chose the lightest of our eggs, but it didn’t seem to matter much, even the speckled eggs came out looking great.
We used liquid water colours, but you could use plain old food dyes, but remember they will stain fingers for a few days. We chose pink, blue and yellow as our colours after some discussion about colour mixing and not wanting our eggs to come our brown!
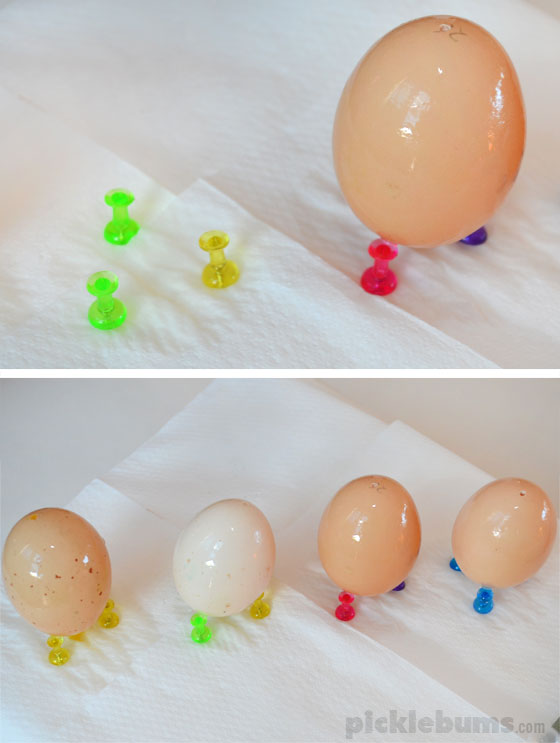
We set up a little egg dying stand by pushing three pins into a block of foam for each egg to rest on. We put some paper towel under the eggs to catch the drips and make clean up easier. An egg carton also works fine for holding your eggs.
Start by dipping or painting your egg with lots of vinegar, it needs to be entirely coated in vinegar and quite wet before you start dying. The vinegar helps the colours ‘stick’ to the egg better, and it helps the dye to spread and move, so don’t skip this step!
Now that your egg is all vinegar-ey pop it on your egg stand and drip some dye onto the egg…
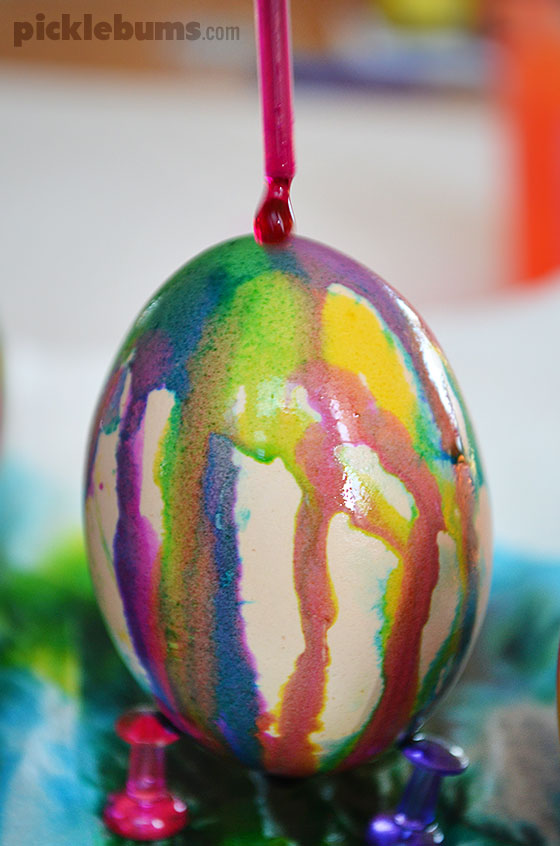
The colours will run and combine on the wet egg much like when we did this cool water colours on wet paper activity.
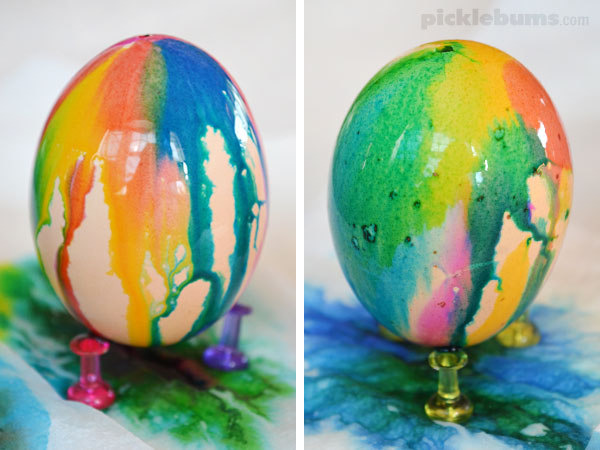
Now all you need to do is let your eggs dry and you’ll have a collection of beautiful Easter eggs.
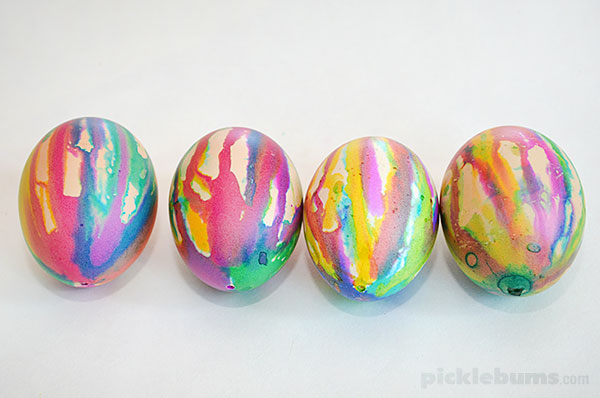
I’m going to use our drip dyed eggs to make surprise eggs. I’ll make the holes in the bottom a little bigger and fill them with some sweet treats, come money and perhaps a few sparkles! Then I’ll cover up the holes with some washi tape and the kids can crack open an egg each!
Do you dye eggs for Easter?
What’s your favourite, super easy, egg dying activity?

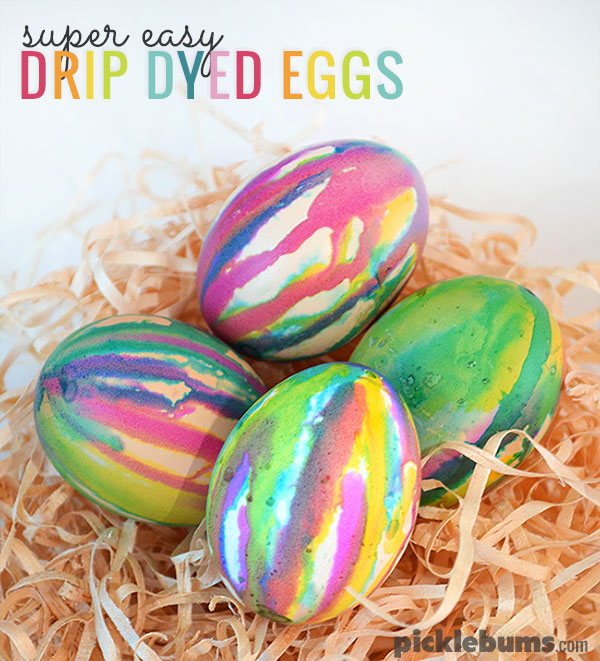
Your drip dyed eggs are brilliant. Thank you for the tips and pictures, I feel confident that I can do this with my kids!
Chris
What brand of liquid water colors did you use? Can Michael’s acrylic paints, watered down, be used?
These are the liquid water colours we have – http://www.learning4kids.net/product/liquid-watercolor-225ml-tropical-colours-set-set-8/
But any brand would be fine. You could also use food dyes.
Acrylic paints might work but you would need to water them a lot. Let me know how it goes if you give it a try.
I have some wooden eggs. Do you think that this technique would work on them too?
I think it would work, but the liquid water colours would soak into unfinished wood quite quickly so you may not get as ‘drippy’ an effect.