My kids have been nagging me to get some shrinky-dinks for ages. But that stuff is not easy to find here, and it’s not cheap either! I’d seen a tutorial on pinterst (of course) for using recycled plastic packaging in the same way, but we never seemed to buy anything packed in plastic that had the right number on it. But I had a vague memory of my Mum melting PET soft drink bottles when I was a kid, and in the interest of experimenting, and celebrating the last day of the school holidays, we decided to have a go.
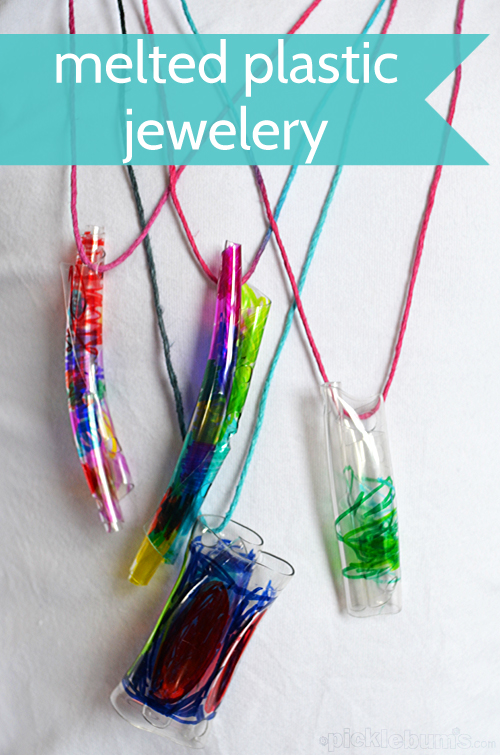
Melted Bottle Jewelery
You’ll Need…
Plastic PET bottles or any kind of PET plastic.
Scissors
Permanent markers
Hole punch
Oven tray covered in foil
A moderately hot oven
String
You’ll Do…
Cut up the plastic bottles into medium sized pieces of various shapes. This can be a little tricky so you might want to pre-cut the bottles and using a craft knife to make the first cut is also helpful, unless you slice open your finger with it (ask me how I know!). Careful of sharp corners on your cut up plastic too, you might want to round them off a little.
Then go to town drawing and colouring on the bits of plastic. We found drawing on the inside of the bottles and filling the pieces with LOTS of colour worked better.
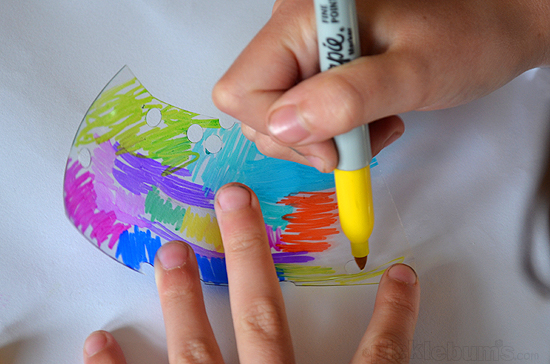
Once you are done colouring, punch holes all around the edge of your piece of plastic. The more holes you punch the more likely you are of getting one in a decent spot to make your necklace later on.
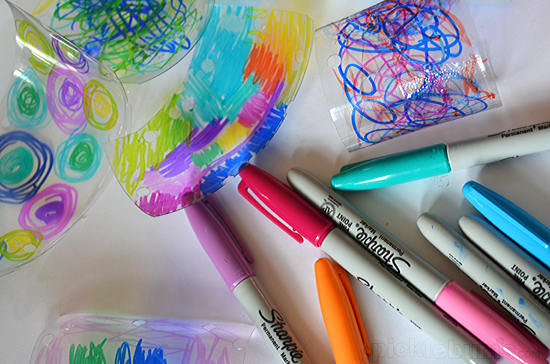
Then pop your plastic pieces on the foil covered tray, making sure there is a little room between each one, and put them in the oven.
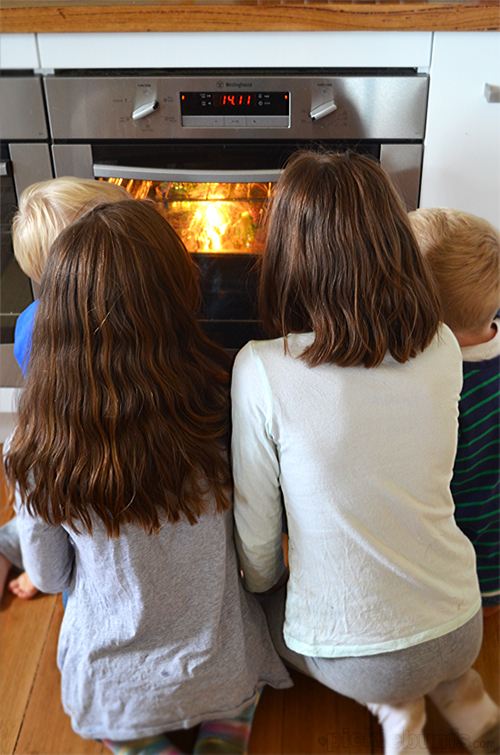
It won’t take long for the pieces of plastic to start to curl up and shrink a little. Once they have melted to your satisfaction (it only takes a minute or two, any longer and they will begin to smoke and burn) take them out of the oven and allow them to cool. Put on your exhaust fan or pop them outside if you like as there will be a slight plasticey smell as they cool
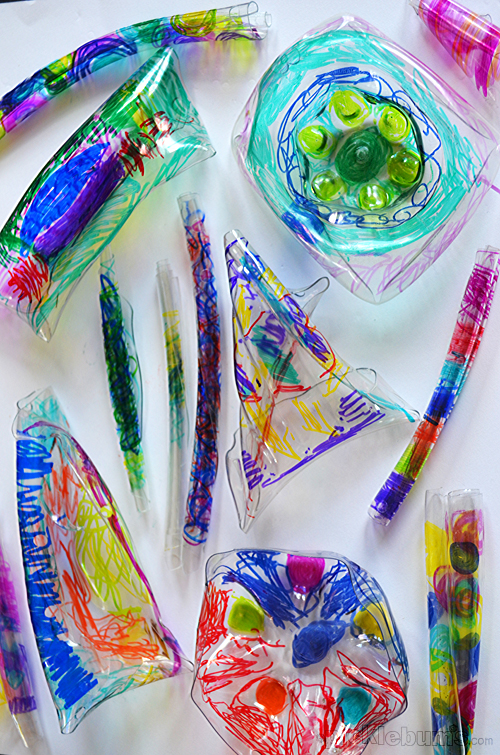
It was really interesting to see how the differently thickness and shapes of the plastic melted and shrank differently. The bottoms of the bottles just shrunk down a little, and the thicker parts at the neck of the bottle didn’t curl as much as the thinner sides.
We each selected a favourite piece that had a hole in an appropriate spot and threaded it on some string for a necklace.
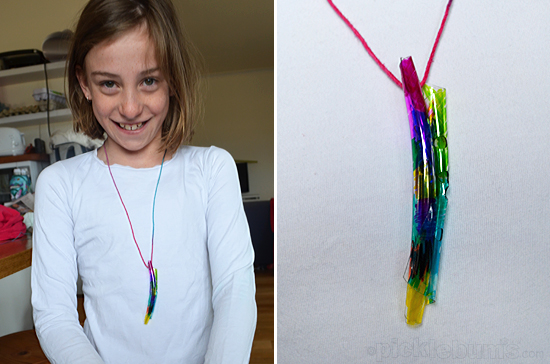
The necklaces soon became ‘rainbow viewer’ necklaces and ‘magic whistle’ necklaces. Morgan didn’t take his off until this morning when he put on his school uniform for the first time. He carefully put his magic whistle around my neck and said ‘keep it safe till I get home’…. so now even I have a melted bottle necklace and it is the most precious piece of jewelery I own.

These are SO clever! I had them pinned and just ran across them — found that they were you — who hop! Welcome to Rockin Art Moms. I can’t wait to see what else you have here! Love it!
I’m the Editorial Assistant for Fun Family Crafts and I wanted to let you know that we have featured your project! You can see it here:
http://funfamilycrafts.com/melted-bottle-jewelry/
If you have other kid-friendly crafts, we’d love it if you would submit them. If you would like to display a featured button on your site, you can grab one from the right side bar of your post above. Thanks for a cool project idea!
Hey! I love the necklaces you made! They are cool.