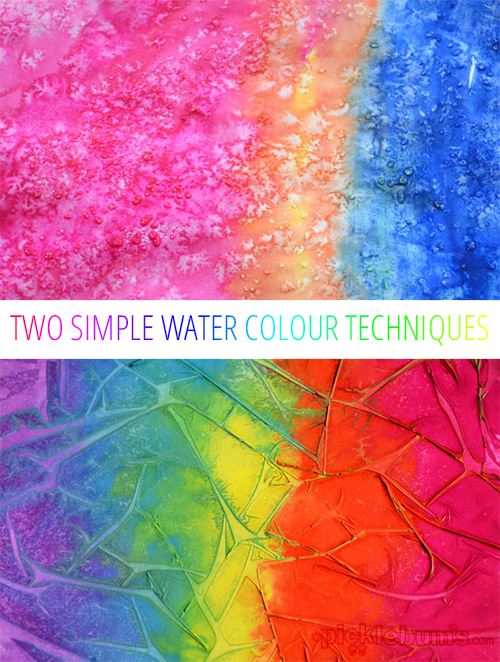
A while ago, while checking out pinterest, my girls spotted the salt on water colour trick and wanted to try it.
I’m always up for a bit of mucking around with paint, and I had another idea up my sleeve that I also wanted to try. So on the weekend we set up the toddler with his own set of paints up one end of the table and the big kids and I got out the water colours at the other end, and set to work on this easy art activity.
Water Colour Paint and Salt
To do this fun watercolours and salt painting technique you’ll need:
- Water Colour paints – liquid or good quality blocks.
- Water
- Brushes – thicker rather than thinner are best.
- Thickish paper – nice thick watercolor paper is best.
- Salt
- Somewhere flat to dry your masterpieces
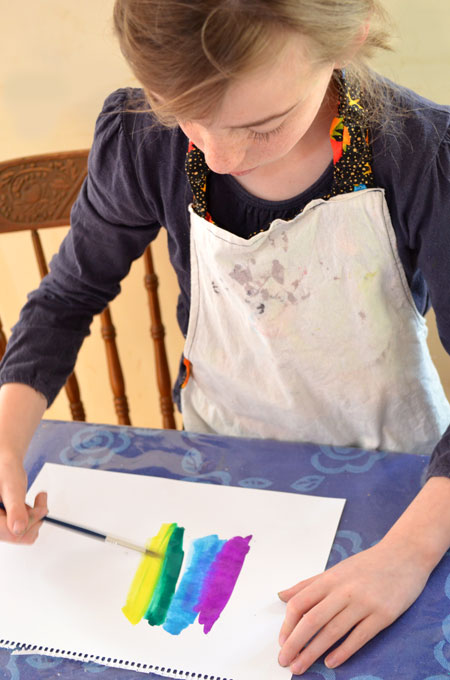
You need to have quite wet paint on your page for this to work, and lots of pigment. So, brush some clean water over your paper first, then, making sure your paint is quite watery, load up your brush with lots of colour and paint it on to your paper.
You need to work fairly quickly so it’s not the time for intricate designs. My kids all went with stripes or splotches of colour as they could get that on the paper fast and have the first stripe still wet and painty by the time they were done with the last one.
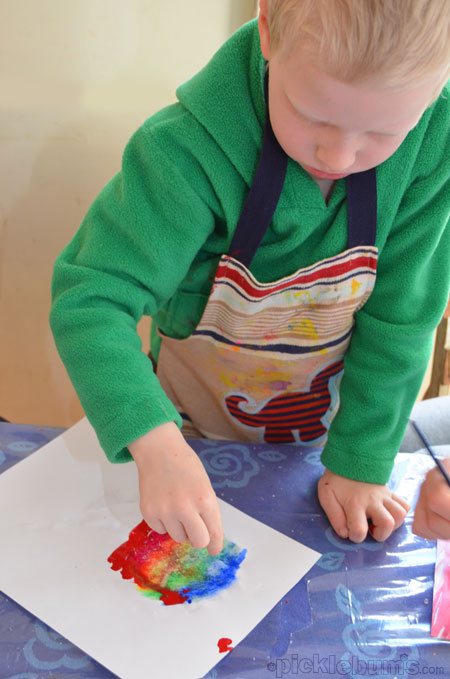
Now sprinkle a little salt over your painting and watch what happens!
Give it a few minutes for the salt to absorb the water and repel the pigment, then shake off the salt, don’t let it dry on the painting.
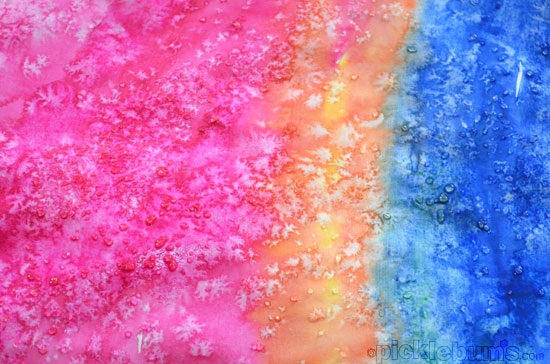
We learned the hard way that sprinkling a lot of salt doesn’t give you a very good effect. We also learned that larger salt crystals seemed to make a more pronounced effect, so rock salt was better than table salt.
We had fun with this, but the effects were not as impressive as we’d hoped… so we moved on to my next idea.
Watercolour Paint and Cling Wrap.
To try this super fun watercolour and cling wrap painting technique you’ll need:
- Water Colour paints – liquid or good quality blocks.
- Water
- Brushes – thicker rather than thinner are best.
- Thickish paper – nice thick watercolour paper is best.
- Cling wrap
- Somewhere flat to dry your masterpieces.
Once again, you need to have quite wet paint and lots of colour. Brush your paper with clean water then heap on the watery paint.
Again you need to work quickly, so your first strokes don’t dry before you get to the last. It all needs to be very wet and painty. We stuck with the stripes and they turned out very cool!
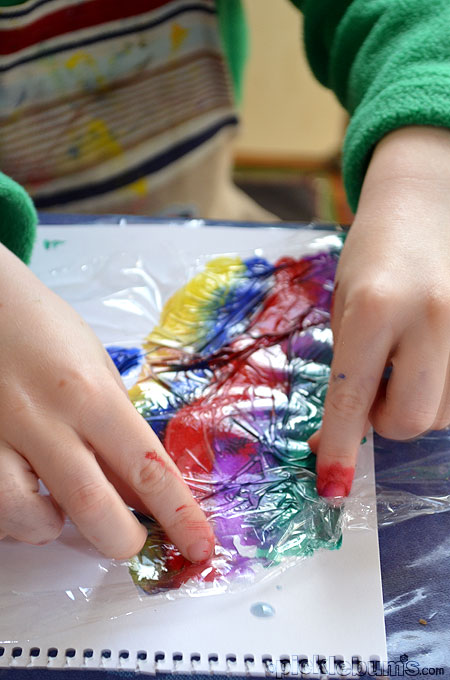
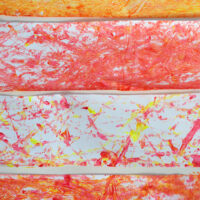
Once you are done heaping on the paint, tear off some cling wrap and pop it over the paint. Don’t worry if it scrunches up here and there, that is exactly what you want it to do. Carefully scrunch it and pinch a little here and there, mixing the wet paint a little under the cling wrap, then set it aside to dry.
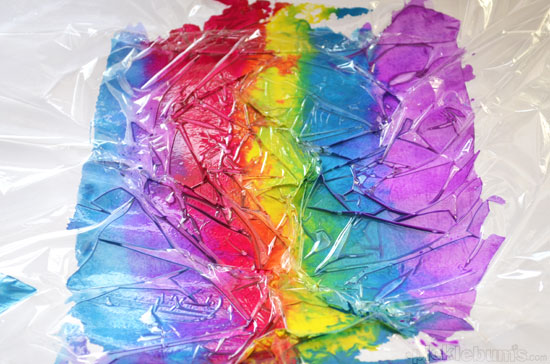
Once the paint is completely dry peel off the cling wrap and check out the cool effects!
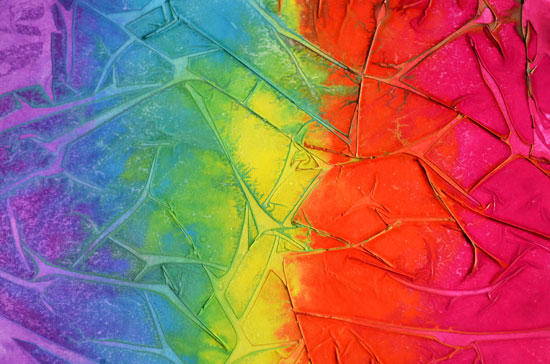
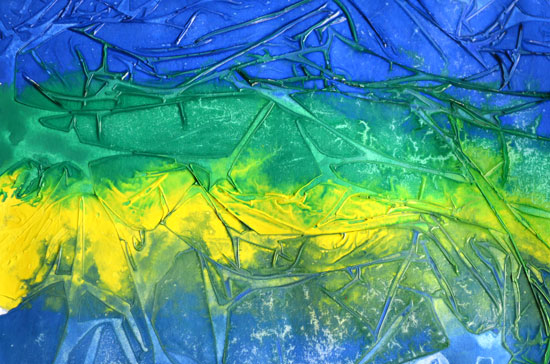
If your kids love painting and you are looking for some more easy painting activities, try one of these:

Great to hear you are feeling a bit better.
Pinned one of the photos to pinterest to try this with the boys when they are a bit older. The effects are amazing!
I am really inspired by this type of mixed media art. My son really enjoyed this experience, although we used regular paint. I do like the effect with the watercolours. My son didn’t have the patience though to wait until it had dried. I think the watercolours would dry much more quickly and so I might see if he is interested in having another go.
If you wanted to take a peek, here’s my son’s masterpiece :D
http://aneverydaystory.wordpress.com/2012/06/05/reggio-mixed-media-art-exploring-with-plastic-wrap/
Looks like some great, messy, creative experimenting. Did your toddler eventually get involved too?
Wow, the clingwrap one looks really cool. My daughter would love this. How long did it take to dry? I wonder how this would work with Acrylic paints as well, or with foil? hmm I might give it a try and see. Thanks for the inspiration. :) Pinning to remember!
Wow, the cling wrap painting is beautiful! We enjoy using salt too, but must try the cling wrap!!
Love these ideas Kate (and how gorgeous are those colours). I really love the glad wrap idea. Pinning this and sharing on my wall.
I love the cling wrap idea!!! So cool
I am loving these ideas! Looks like some painting is on the agenda for tomorrow
Fantastic! I love using watercolours and these ideas are genius…have ben meaning to try the salt one but the cling wrap shall be added to the list too…perhaps not as magnificent as your creations seeing as the twins are only two though!!
I love art experiments — these are so fun, Kate! The saran wrap experiment is especially fun. I’m adding it to our to-do list! (oh, and just pinned this).
Love the glad wrap paintings and will definately try these with my 5. Thanks for sharing.
I just LOVE this post, Kate! The cling-wrap technique is my favourite! Love the colours and the pattern that the plastic makes! Pinning!! :)
These are just beautiful – can’t wait to try with my daughter. I’ve been looking for some easy art activities so we can incorporate art more each week – pinning!
instead of using water color paints can you use acrylic paint
That cling wrap idea is awesome! Thanks for sharing!
where did you purchase your water colors?
The ones we used for this activity came from the local cheap shop/dollar store. They were little tubes of water colour, cheap and vibrant.