
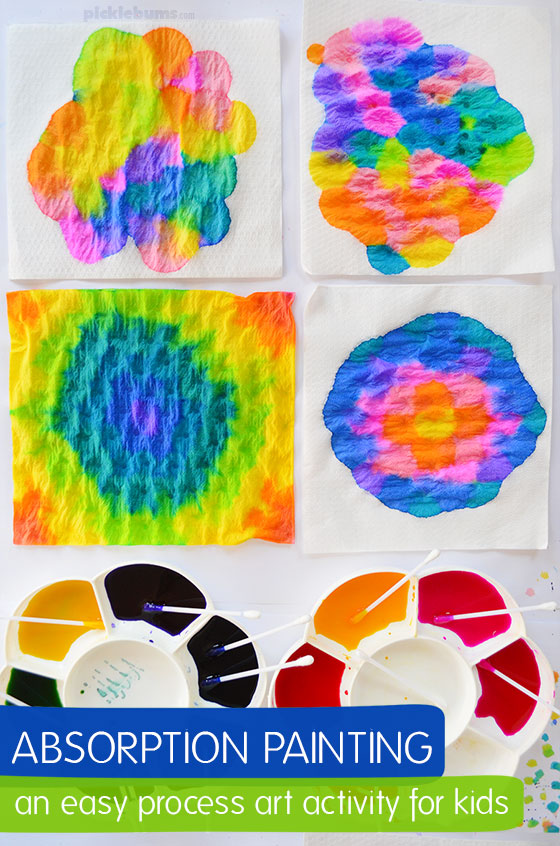
Absorption Painting – An Easy Process Art Activity
This easy process art activity combines science and art with a beautiful result!
With a few basic art supplies and some paper napkins, your kids will be mesmerized creating this gorgeous absorption painting activity.
Sometimes the best creativity happens when you least expect it.
This absorption art activity happened by accident, when we’d finished another activity (q-tip painting) and had some liquid watercolors left over. As we were cleaning up the kids grabbed the paper serviettes (napkins) we’d been using to mop up spills and were painting on those, mesmerised by the way they sucked up the colours.
What began as a quick ‘left overs’ activity, turned into a beautiful process art activity that is super fun and easy to do.
Absorption Art Activity
This absorption painting technique is a lot like dropper painting, but more controlled and less messy. It combines the idea of Pointillism, where small dots of colour are combined to make a bigger image, with the science of absorption.
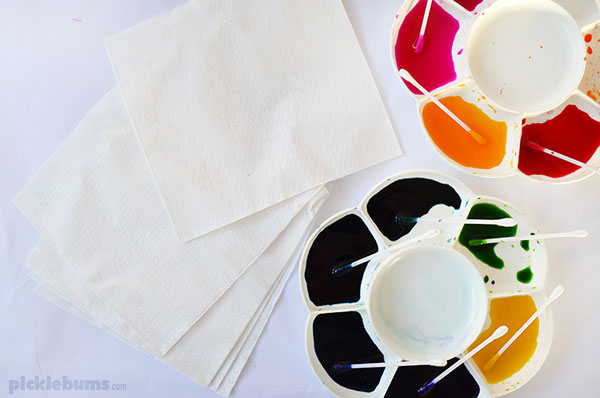
Supplies:
- Paper serviettes (napkins), coffee filters, or other absorbent paper.
- Cotton buds (q-tips)
- Liquid watercolours or food/edicol dyes mixed with water.
- A smock or apron.
- Something to cover your work surface.
We used liquid water colours for this process art activity, and a little bit of paint goes a long way, so you don’t need very much.
Have some extra cotton buds (q-tips) on had, and a big flat space to lay the artwork to dry, because there will be lots of it!
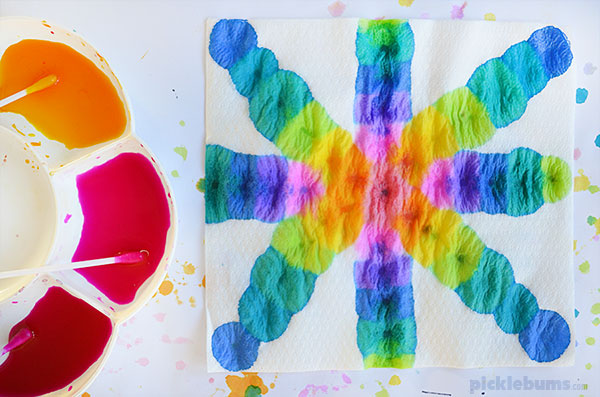
How to:
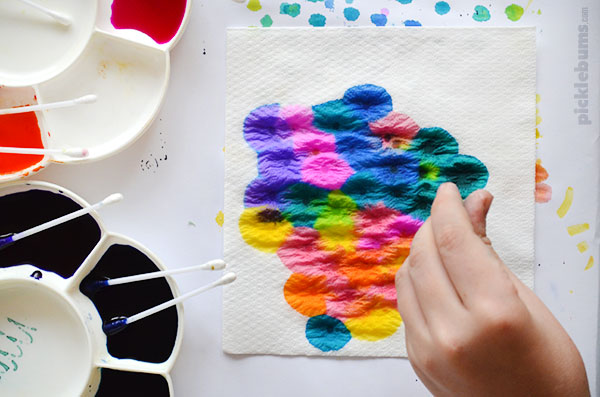
The process for absorption painting is simple – dip a cotton bud/q-tip into a colour and then press it onto the napkin. Watch the paint being drawn into the paper as the dot of colour is absorbed and expands.
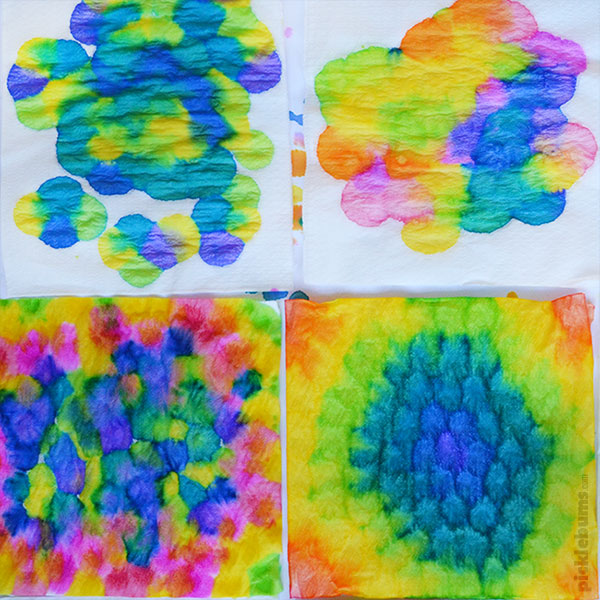
If you put two dots of colours close to each other they will expand and merge as they are absorbed, combining to make a new color.
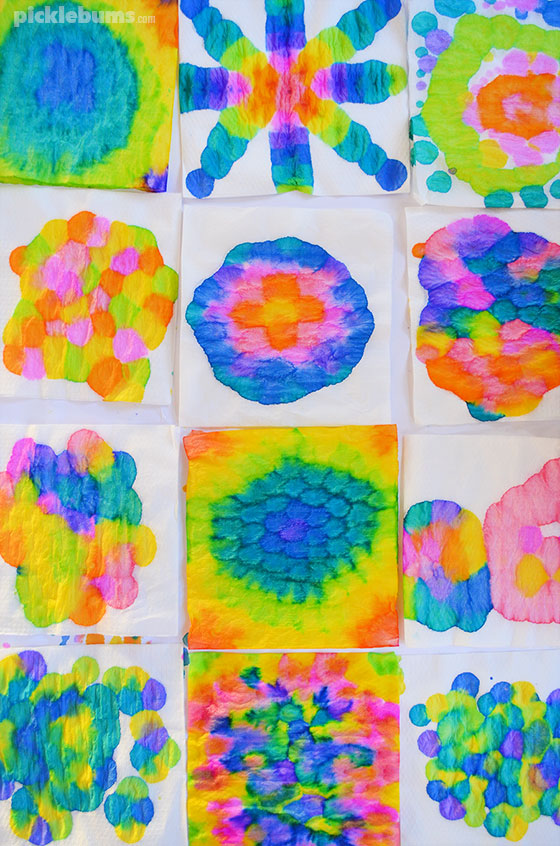
Fill the napkins with random dots of colours or make patterns and pictures.
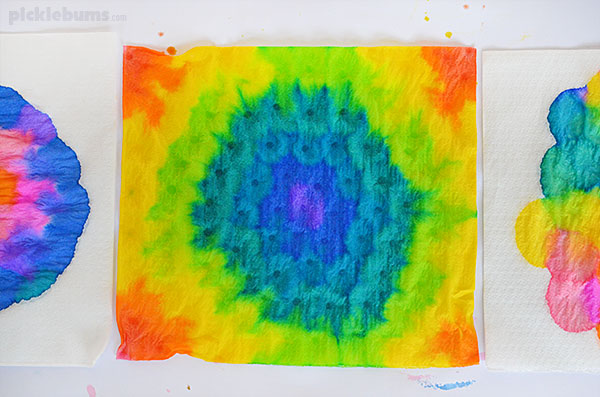
Once you are done adding paint, lay your creation flat and leave it to dry.
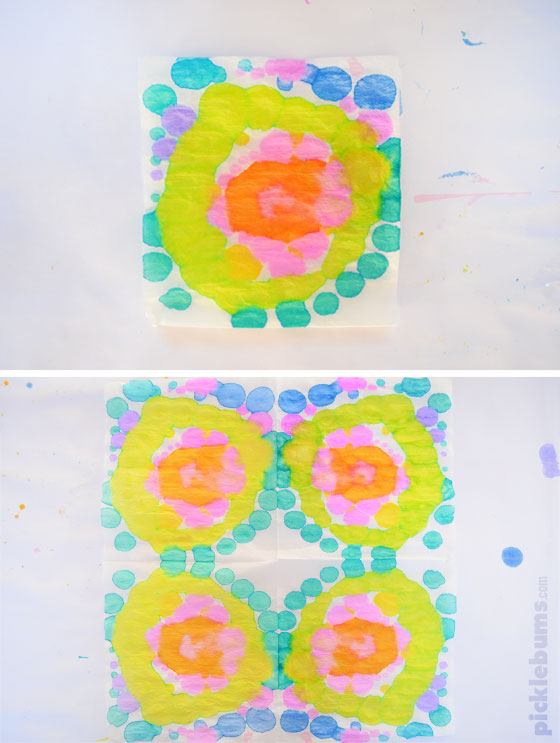
We kept the paper napkins folded so they absorbed the paint quickly, but once they are dry you can carefully unfold them to reveal the repeating pattern you have made!
The Science behind Absorption Painting
Absorption is the ability of a material to soak up or ‘absorb’ another material. In this art activity you are watching the paint be absorbed by the paper napkin.
Absorption painting works because the napkin is made of tiny fibres with little gaps between them. When you drop watery paint onto the napkin, the liquid gets pulled into those gaps through something called capillary action. The paint spreads out, or diffuses, moving from where it’s strongest to where there’s less. If two colors spread into each other, they mix and make new colors. That’s why the dots of paint grow, join together, and create interesting patterns.
Tips and Extension Ideas.
- Use lots of descriptive language as your children explore, such as ‘absorbing’ ‘soaking’ ‘mixing’ ‘soggy’ ‘wet’ etc.
- Allow your children lots of time to explore and experiment and to make lots of absorption paintings, the focus is on the magical process of making them, you don’t have to keep all of them when you are done.
- Explain the process of absorption as it is happening.
- Invite your kids to name the colours of paint they start with and discuss what new colours are created when they are combined.
- Tape a few absorption paintings to the window as gorgeous suncatchers.
- Extend the activity trying other types of paper to see if they will absorb the paint as well.
- Extend the activity with a follow up activity testing which other items absorb water, and which don’t.

More Easy Process Art Activities
If you are looking for more easy process art activities try one of these:
- Try one of these easy painting activities for kids, there’s 18 to choose from!
- Collect some containers and try this recycled container printing!
- Make a sparkly foil collage.
- This collaborative doodle drawing activity is great for a group of kids of any age.
- Work those fine motor skills with this fun pin prick drawing activity.
This looks amazing and so easy!! I think children will be So Proud of what they created!!! Fun idea, will try it for sure.
It really was super easy, and so much fun!
What liquid water colours did you use Kate? The colours are amazing.
We did something similar to this recently at preschool using pippettes and paper towel. Once they were dry the paper towel is sturdy enough for the kids to draw on with markers and when you pop the pictures on a window they are glow like stained glass
Anyone who has tried this, what do you put under the paper towels as they are painting? The coffee filters I’ve tried this with end up muddled colors because of the extra amount of water colors as children are painting.
We usually just put newspaper underneath. If you do it with folded paper napkins they seem to soak up a lot of liquid, but we also talk about only using small drops of colour and accept that sometimes it will turn into a soggy mess because adding more and more is just plain fun!