
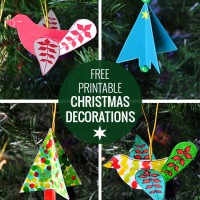
Easy Tin Foil Christmas Decorations
These tin foil Christmas decorations are easy to make and look great decorating the Christmas tree!

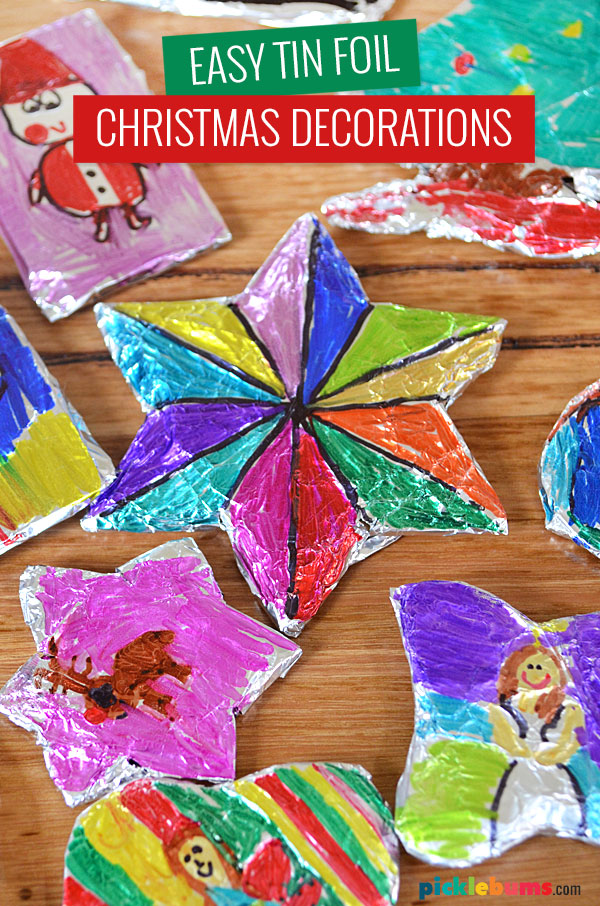
We love using plain old aluminum foil for art. It’s not expensive, we always have plenty of it in the cupboard, and it always makes for a great art project. We’ve donepainting on foil, drawing on foil, collage on foil, and finger painting on foil, and the results are always spectacular. And since Christmas is the time for a little something ‘spectacular’ we made some tin foil Christmas Decorations.
How to Make Easy Foil Christmas Decorations
These easy tin foil Christmas decorations are easy to make, and perfect for kids of all ages. As long as your child is old enough to use a permanent marker safely they have have a go at this fun process art activity.
You only need a few art supplies to make these shiney Christmas decorations.
You’ll Need…
- Scraps of cardboard
- Permanent markers in lots of colours
- Foil
- Tape or glue
- String or wire ornament hooks
- Cookie Cutters (optional)
- Scissors
- Something to cover your work surface.

We used sharpies in all the brightest colours, but you could use any permanent markers you have. You could also offer only traditional Christmas colours, or go all in with every colour you have like we did!
The first thing to do before you start making anything, is cover the surface you are working on so any stray markers don’t leave a permanent impression! I learned this the hard way!
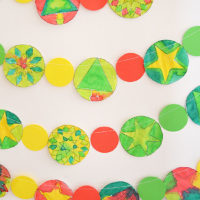
Start by tracings or drawing simple shapes onto a piece of cardboard. You can use Christmas cookies cutters to trace around, which is an easy way to get simple Christmas shapes. Or you can simple draw your own design straight onto the cardboard.

If you are working with little kids, you might like to pre-cut the cardboard shapes as it can be a bit tricky to cut thick cardboard. Older kids can cut out their own shapes, and they will learn that simple shapes are much easier to cut than complex designs!
Once you have cut out the shape you want to use, wrap it in a piece of foil. Use a piece of foil that is just big enough to cover both sides of the shape, but not too big. Try to keep one side of the shape nice and smooth for drawing on, and as neat as possible on the back. You may need a dob of glue or some tape to keep the foil in place on the back of your decoration.

We discovered that simple, rounded or square shapes worked best, as the more detailed shapes, such as stars were harder to wrap in the foil.
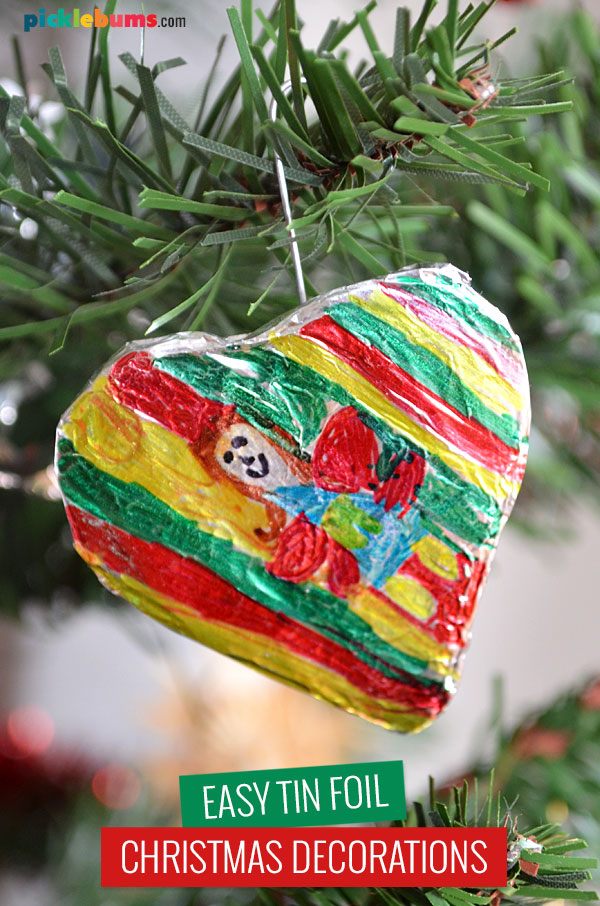
Now it’s time to use the permanent markers to add colours and designs to your foil wrapped shapes. You can just colour in the shapes, or you can get creative and add all kinds of drawings and designs. My favourite decorations are the ones with adorable little drawings on them! The more colourful the better!
When the shapes are full of colour turn them over and tape or glue a string or wire ornament hook to the back of each one.
Now they are ready to hang on your Christmas tree!
If you loved this shiney tin foil project you can find more more fun ways to play with foil here.
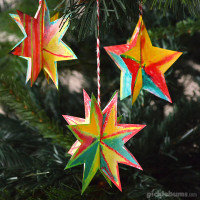
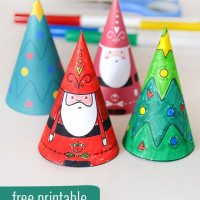
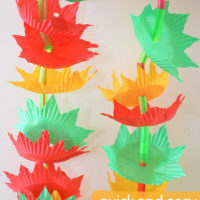
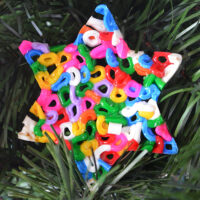
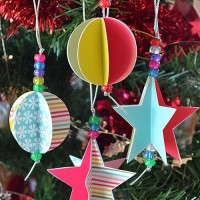
If you enjoyed making this fun Christmas decoration, you might also like these easy Christmas crafts for kids:
These look awesome – I can’t wait till next year when Miss M will probably be at a better age for crafty things. At the moment she just likes destroying the crafts we make! ;)
Those are so cute, Kate! I love how Sharpies glide across foil. Love how the colours are so vibrant too.
I loved your last drawing on foil post and ran out to buy sharpies straight away. I love how you used the same effect to make Christmas ornaments. They look lovely. You have very talented drawers in your family!
Great idea Kate and your photos are gorgeous!
These are so lovely Kate. The Sharpies come out so brightly on the foil.
I just love the simplicity and fun Kate…i think the twins could manage this…thanks for the idea!
These look lovely, we’ve painted on foil, but not braved sharpies yet, but I think my eldest son would enjoy this. Off to pin.
Kate, these are fabulous! Will definitely be giving these a go :) Will be sharing this on fbk.
I am definitely going to try these with my class, and with my daughter too.
Those Sharpies are really great, aren’t they? A friend of mine got a set of them and some white dunlop volleys for her kids to glam up. They turned out fabulously. I really want a set now. They didn’t smudge at all on the al-foil?
No smudges… because the sharpies are permanent they go on just like a regular marker but don’t smudge at all… well they might a tiny bit until they dry, but we didn’t have any problems with smudges on any of the foil and sharpie projects we’ve done, and the first time we did it with rip-off $2 shop fake sharpies LOL
So glad to see the foil and sharpies appear again! Still love the last post using them. Another fantastic idea!
We love using foil in our art activities too but I had never thought of this! Such a great idea, so bright, colourful and effective. Adding Sharpies to my shopping list right now, lol!
Very pretty and what a great idea!
They look so festive and what a beautiful keepsake to treasure for many years to come.
I’m sharing this lovely idea in the ornament round-up at The Crafty Crow too!