
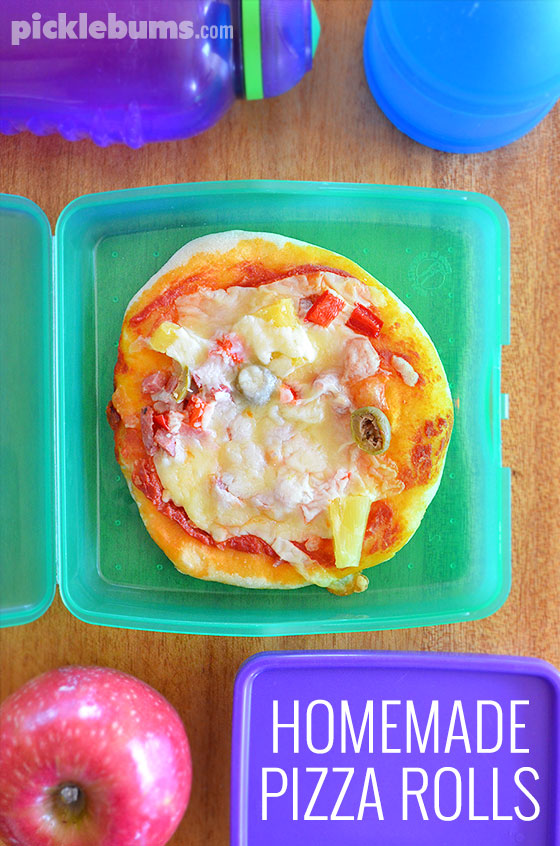
Homemade Pizza Rolls
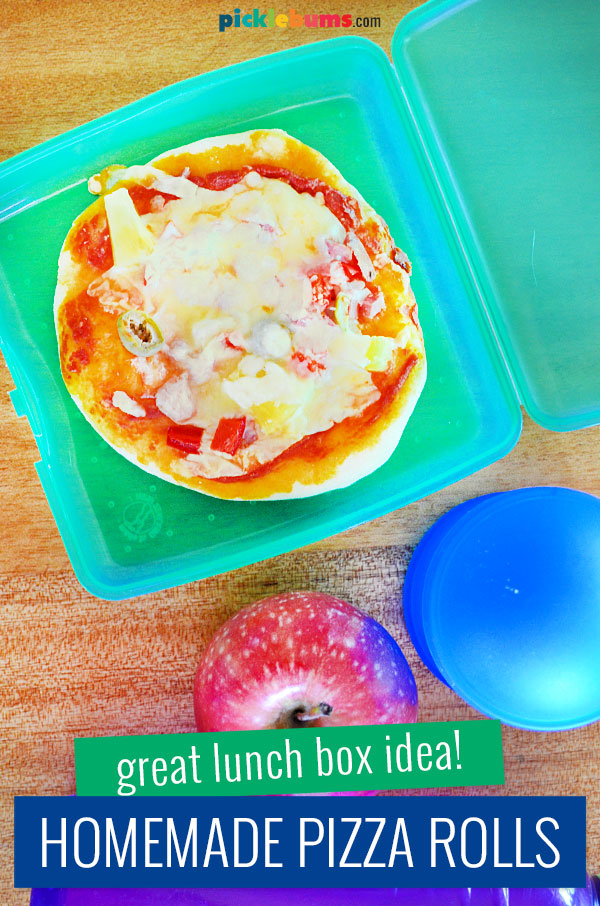
These homemade pizza rolls make a great hot lunch or dinner, or pop them in your kid’s lunch box cold for a great alternative to sandwiches.
My kids take a packed lunch to school every day. That’s four lunches, five days a week.
That seems doable – a piece of fruit, a homemade muffin or cookie, maybe some yoghurt, and a sandwich, and we’re done.
Except that half my kids don’t eat sandwiches.
Insane I know?
I mean, what kind of kid doesn’t eat sandwiches?
My kind of kids.
And I know I am not alone! I know there are lots of you trying to figure out what to put in your sandwich hating kid’s lunch boxes!
Over the last six years I’ve found myself trying to come up with lunchbox options that are not super expensive, that don’t take loads of time to prepare, that travel well, and that are not sandwiches.
One of the answers to this riddle is homemade pizza rolls!
My kids love pizza rolls, but instead dragging myself to the shops every day to buy expensive pizza rolls, we make them ourselves.
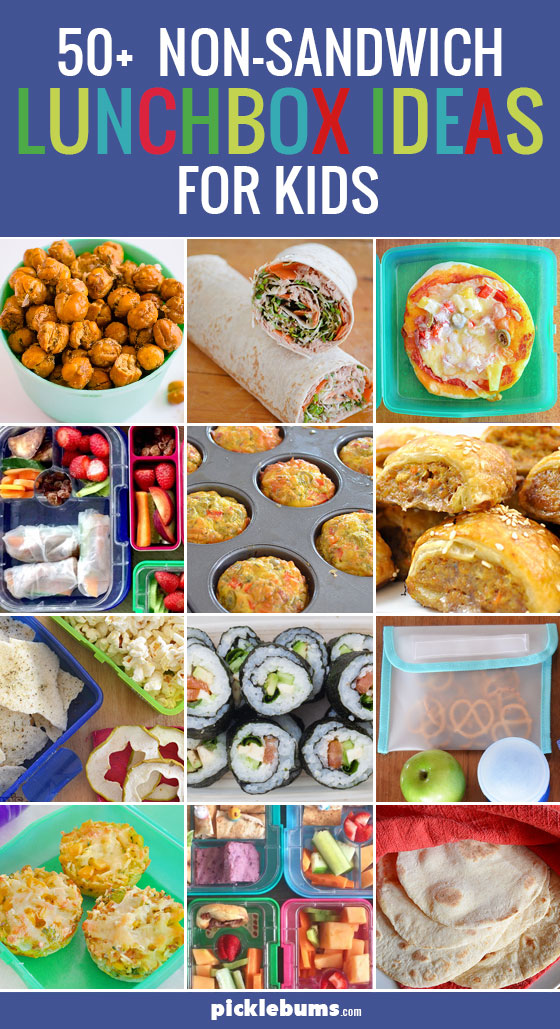
Here’s another non-sandwich lunchbox idea!
Find the full rice paper rolls recipe here.
How to Homemade Make Pizza Rolls for the Lunch Box.
I know that making a yeast dough mat seem tricky and time consuming, but it is not as difficult as you think!
IF you have a bread machine you can use it to do all the hard parts! Use your bread machine on the dough setting to do all the hard work of mixing, kneading and rising the dough. Then all you have to do is roll the dough out into small rounds, add sauce and toppings, and bake them.
Allow your kids to choose their favourite toppings, and everyone will happily eat what you put in their lunchboxes!
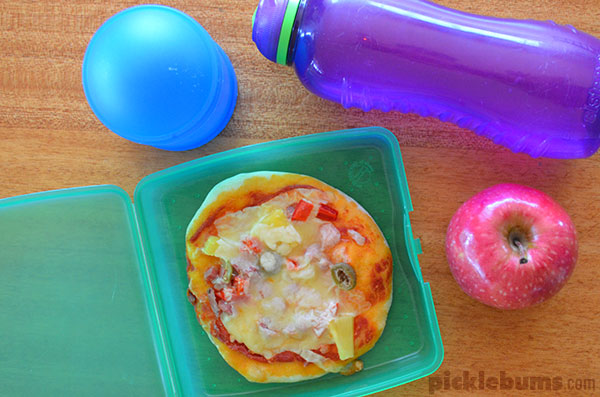
This recipe makes enough for 12 middle sized pizzas. Divde the dough into 12 equal sized pieces and roll out it out to make a 10-15 cm diameter circle. You can make then bigger or small as you like, but here’s a tip – measure your child’s lunch box and make them the perfect size to fit!
I make a big batch on a Sunday afternoon and they keep, wrapped, in the fridge for a couple of days, so that’s at least half a week’s school lunches sorted!
These homemade pizza rolls also freeze well with all their toppings on them ready to cook. Or you can freeze just the dough rounds and the kids can top and bake their own pizza rolls.
Simply flash freeze them on a baking sheet then, if they have the toppings on them wrap them individually and store them in the freezer, or plain dough rounds can be popped in a freezer bag all together. When you are ready to cook them, place them on a baking tray and them them thaw completely before baking.
Here’s our easy recipe for homemade pizza rolls.

Homemade Pizza Rolls
These homemade pizza rolls are great for school lunch boxes. Make a big batch and freeze them ready to cook up. Eat them hot, or cool them and pop them in your kid's lunch boxes.
Ingredients
For the Dough
- 250 mls luke warm water
- 2 tsp yeast
- 1 tsp sugar
- 3 tbs olive oil
- 500 gms of bread flour or plain flour.
- pinch of salt
For the Pizza Sauce
- 1 egg
- 1/2 cup tomato paste
- 1 tbsp water
- minced garlic and herbs to taste.
Pizza Toppings
- cheese
- Cheese
- mushrooms
- olives
- pineapple
- capsicum
- ham/salami
Instructions
To Make the Pizza Dough
- Combine the yeast, sugar and warm water and set aside for five minutes until the yeast begins to bubble.
- Add the olive oil to the yeast mixture.
- In a large bowl, or the bowl of your bread machine, combine the flour and salt and make a well in the centre.
- Add the yeast mixture into the flour and slowly combine wet and dry ingredients until you form a dough - add more water if needed.
- Knead the dough and set aside to rise. Or use your bread machine on the dough setting to knead and rise the dough.
- Once the dough has doubled in sized, knock the air out of it with a quick knead and you are ready to make the pizza pockets.
To Make the Pizza Sauce
- Crack the egg into a small bowl, add the water and whisk well.
- Add the tomato paste (more or less depending on the number of pizzas you are making), galric and herbs and mix well.
- Add more water if needed.
Making the Pizza Rolls.
- Line several large trays with baking paper.
- Gather and prepare your pizza fillings and sauce.
- Cut the dough into 12-15 pieces depending on size.
- One a well floured surface, roll the dough out into circles, approx 1.5cms thick and place them on the baking tray.
- Set the dough aside for 15- 20 minutes and allow it to rest and rise a little again.
- Preheat your oven to 200 degrees Celcius.
- Spread the dough with pizza sauce and top with whatever ingredients you like.
- Bake in a hot oven for 10-15 minutes or until the cheese just begins to brown.
- Allow to cool completely and store in an air tight container in the fridge for up to three days.
Notes
You can assemble the pizza rolls with all the toppings ready to be cooked, then place them in a freezer bag and freezer bag, or wrap them in cling wrap and freeze them. When you need a hot lunch or something to fill up the kid's lunch boxes, just pull them out of the freezer, pop them on a baking tray, allow them to thaw, and then cook them as you normally would.
Nutrition Information:
Yield: 12 Serving Size: 1Amount Per Serving: Calories: 280Total Fat: 7g
Please note: this recipe uses Australian measurements and temperatures, if you need to convert measurements or temperatures you can find our printable cooking conversion chart here.
Do you have non-sandwich eaters too?
If you are constantly struggling to come up with ideas of what to put in your kids’ school lunch boxes, this HUGE post of non-sandwich lunch box ideas just might help!
Yum. I’m going to try these for sure once it cools down.
they look delicious
Nom nom nommy. They look good. Now I just need a bread machine to make the dough properly as I am HOPELESS at it :(
Oh these look yummo! I’ve put them on my (very long) list of things to bake when I have an oven again!
go girl!! keep the recipes coming. They look great. i tried the muffins the other day and they were great!! My boy want eat breaky and Mika just loved it!!
Ta!! Hope you are feeling well
Yum. Yup Im loving the recipes too, this one looks great.
WTG Kate!!!!!!
they look yummy!!
Ooh you little ripper!! I have to make these as my youngest loves them. Can’t believe I never thought of it .. Thx for the share Kate :)
Kate they look awesome. Fabulous idea.
Great idea! I will take a short cut though and make the dough in my bread maker and have the kids help me put on their toppings.
Great idea!! I’ll have to give this a whirl, as I’m trying to keep variety in LB’s (and my other littlies) for lunch.
A great and yummy idea thanks Kate.
Even I might have a go at this Kate!
Hi Kate, I have been saving this recipe for ages and I finally did them tonight. They look and taste yum, although I wonder if I should have squashed them flatter and cooked them a bit longer. Thanks! I love your great tips.
I make something similar for my hubby and kids and it’s always a hit. You’ve reminded me to get the bread maker back out!