
Make a DIY Window Easel for Kids Art
If you’re looking for a fun and easy way to keep your kids entertained, why not try making a window easel?
This DIY project is a great way to repurpose materials you probably already have at home and set up a fun, vertical painting activity for your kids. I’ll step-by-step how to make a window easel that is both simple to construct and will provide hours of creative fun for your children.
Painting or drawing at an easel offers a different perspective to the usual creating on a flat surface or table.
Working on a vertical surface is really important for young kids. Importantly, it offers lots of opportunities for using shoulder and arm muscles, which kids need to develop to give them support and stability when they write, and there are lots more reasons why kids should work on a vertical surface.
But what if you don’t have an easel?
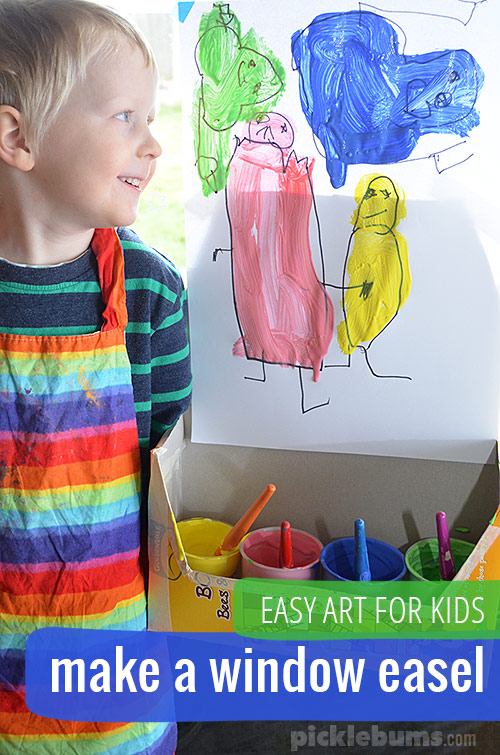
Making a simple DIY window easel is a quick and easy way to set up a vertical painting activity for kids.
Supplies You’ll Need to Make a Window Easel.
To make a window easel you only need a handful of supplies that you probably already have at home.
The most important thing you’ll need is a large, low, window to attach your easel to.
You can use a wall to make this easel, but the tape may leave marks when you remove it, and stray paint is harder to wash off a wall than a window. If you need to use a wall I’d suggest hanging up a large sheet of plastic and attaching your easel to that
To make a window easel you’ll need:
- A cereal box, or other similar sized cardboard box
- scissors
- tape
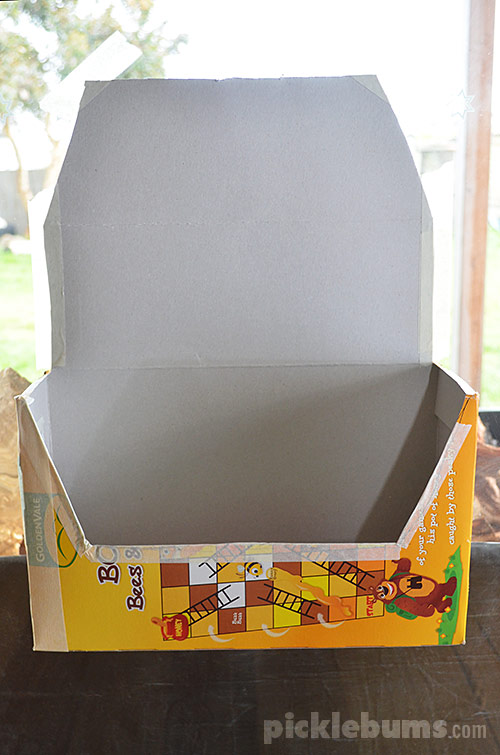
You’ll need a box that is wide enough for your paper to fit inside. A cereal box turned on it’s side fits a nice large sheet of paper and is perfect for this project.
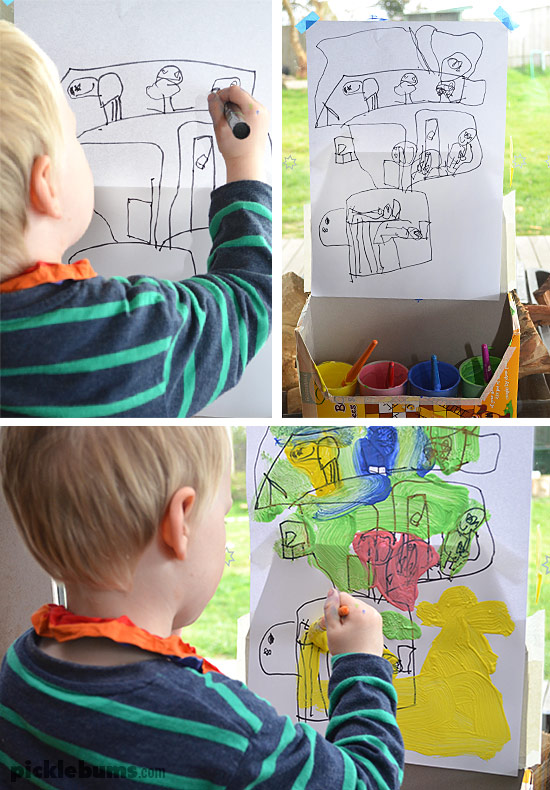
Tape both ends of the cereal box closed, and cut a large flap from the front and top of your box. You will end up with a ‘tray’ area to hold your paint containers, and a flap to tape onto the window.
How to Use the Window Easel
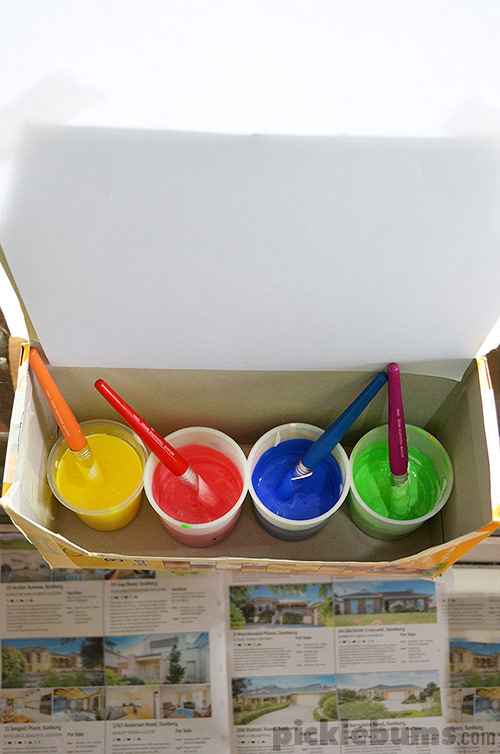
Tape the flap of the cereal box securely to a window, at a height that is appropriate for your child. Now just add your paint containers to the tray area, and tape some paper to the window.
The box ‘tray’ keeps the paints nice and close to the painting and helps to catch any drips so there is less clean up. I’d suggest putting some newspaper or a splash mat on the floor underneath too, just in case there were any wayward paint drips.
You can use any kind of paintings you like for this vertical painting activity, but I suggest using washable painting with a nice thick consistency to reduce drips.
To thicken up paint you can add a little corn flour/corn starch, or even better, make some corn flour paste and add some to your paint.
We decided to make some pastel coloured paints today – we made them by adding a big dollop of white paint into the regular colours and mixing it up to make pink, mint green, pale blue and a lemon colour.
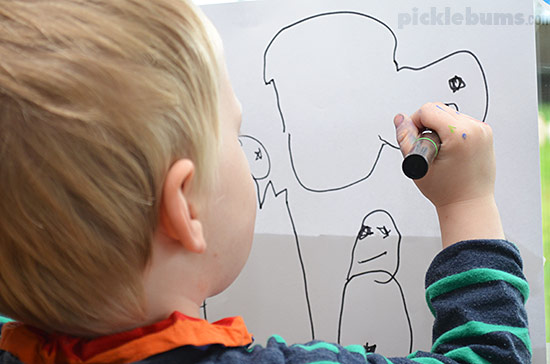
We also decided to go with one of our favourite painting activities – the draw first, paint later activity. So my preschooler started out with a big fat black marker and filled his paper with drawings first.
And then he added paint.
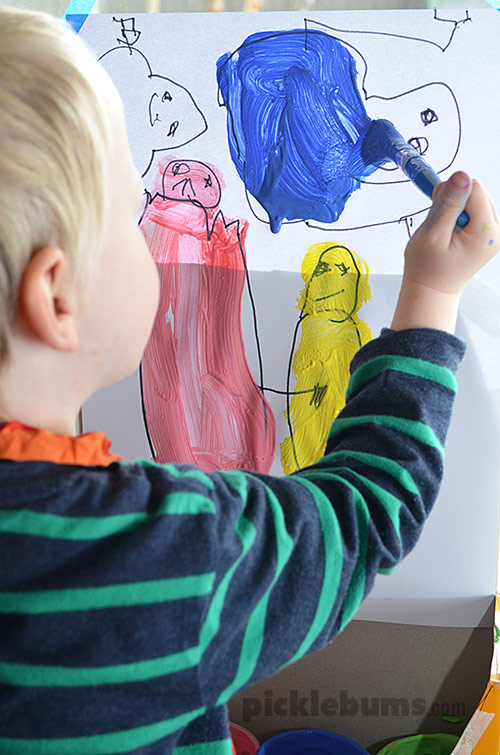
Monsters, they always make an appearance in his art.
And later a caravan with ‘fifty hundred rooms and things’.
I love listening to him talk about what he is creating as he draws or paints it.
A great way to encourage language development is to talk to your child about what they are creating. Try not to ask ‘what is it?’ and instead use open ended questions like “tell me about your painting?” or open statements about what you see like “you’ve used all the colours in your painting” and allow your child to respond in whatever way they want.
This was a simple, low mess, way to let my four year old paint on a vertical surface, and he painted on and off all day… now I just need to find a way to store all his paintings while they dry!
More Easy Painting Ideas.
If your child loves painting you might like these easy painting ideas or try on of these painting activities which are our favourite:
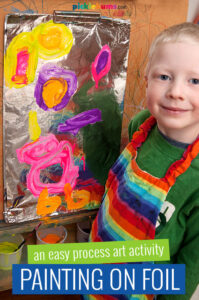
Try painting on foil with your window easel!
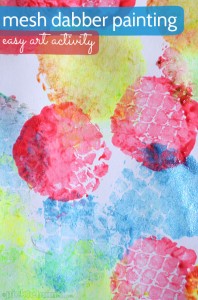
Try this fun mesh dabber painting idea.
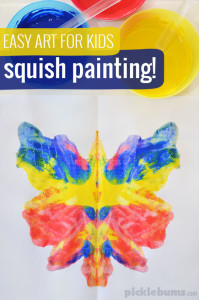
Everyone will love this squish painting activity.
What a great idea – I love it! I really like the effect of the sunlight streaming through the painting, too. We hang our paintings on a clothesline we strung up in the garage. Gives us lots of room and we don’t worry about drips on the concrete. :)
Katie! What a great idea! I am curious to know what your inspiration was!? Lately I have been stumbling upon tons of useful, creative, cereal box made “things” & this is one of the best! I am already thinking of a few different ways you could “tweek” this & make it so you could paint directly on window, use crayola (or other) Window Markers,etc! Thats the BEST part of homemade/recycled stuff: Opens a World of creative opportunity :D GodBless & HappySummer!