This is an easy process art activity that is perfect for little hands. Try this mesh dabber painting with your toddler or preschooler.
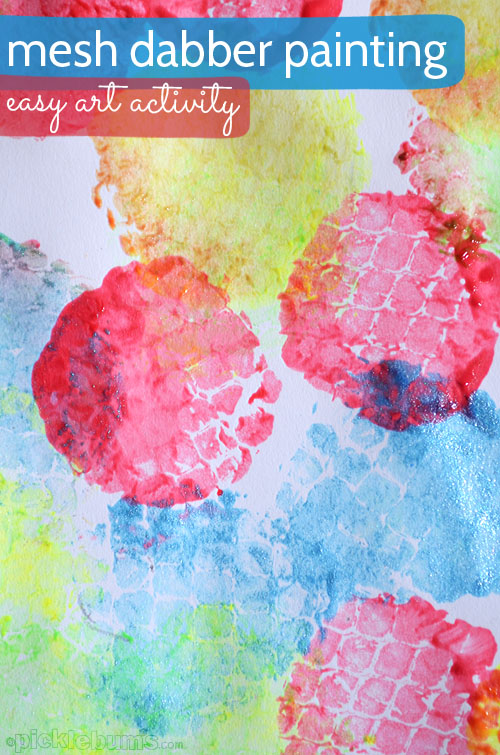
On days when it is just the toddler and I we go back to basics – simple art activities that are perfect for small hands that just want to put paint on paper and see what happens. This mornings we experimented with mesh dabber painting, and it was just that – easy and fun.
This simple process art activity uses items you probably already have at home, and it’s perfect for young children who are ready to explore paint and simple art activities. The purpose of this activity is not to paint a masterpiece, but to be creative, to explore, to learn about cause and effect, and to have fun!
Here’s another easy and magical process art idea.
How to Do Mesh Dabber Painting.
Setting up this fun creative painting activity for your kids is super easy.
To get started with some mesh dabber painting you’ll need to gather the following :
- A plastic mesh bag – we got ours from a bag of oranges.
- Something to stuff your dabbers with – cotton balls, tissues, fabric scraps
- String or elastic bands to tie up your dabbers.
- A container for the paint – we used a foil tray from the recycling.
- Paint – we used a selection of liquid tempera paints similar to these (affiliate link).
- Nice big sheets of paper.
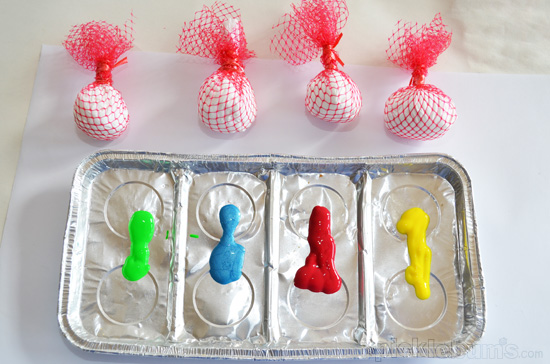
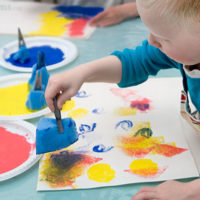
To make the dabbers I cut our orange bag mesh into four square-ish pieces, then scrunched up some newspaper into small balls and put a few layers of tissue over the top. Wrapping the balls in the mesh I tied it all at the top to make a nice squishy dabber for the paint with a nifty handle at the top.
You could use plain fabric for the outside of the dabbers, or even some bubble wrap. Try to pick something with an interesting texture that will show up when you copver it with paint and stamp it onto the paper.
To paint with the mesh dabbers all you need to do is swish them around in the paint a bit and then start dabbing!
This activity is perfect for toddlers as it is easy to get paint on to the paper without too many drips and it’s lots of fun to dab and stamp away at the paper.
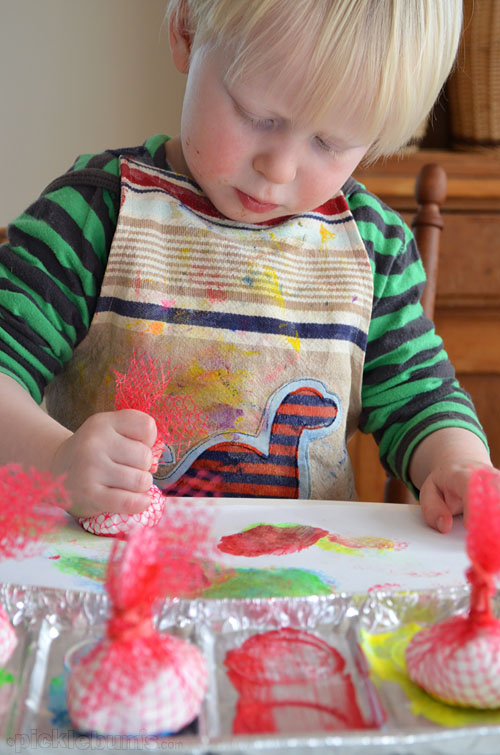
Little ones will use lots of large arm movements, practicing those hand-eye coordination skills.
My toddler started with big wild dabbing and stamping to make a range of printed, textured circles that filled his piece of paper. I had to rush to keep up with his demand for another piece of paper!
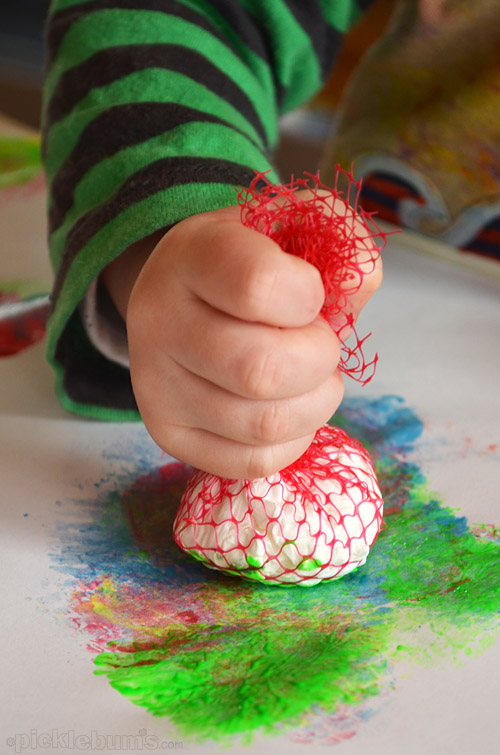
Later he experimented with swishing and rubbing, mixing colours. Sometimes he added so much paint the paper became a soggy mess, and sometimes he mixed all the colours together and made a muddy brown, but that’s ok, that’s all part of the process of experimenting and learning. That’s why it’s called ‘process art’… it’s all about the doing, not having something pretty to look at in the end!
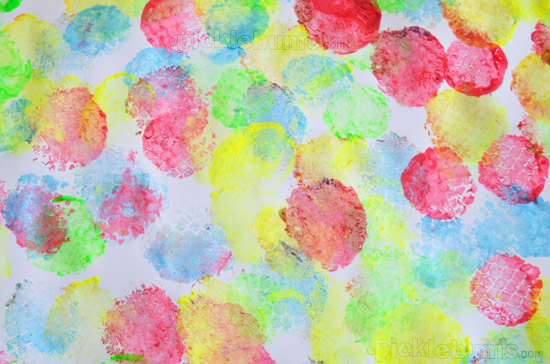
What’s your favourite colour combo for painting?
If you are looking for some more process art activities to try with your kids, check out these ideas…


My little one would love this. We’ll have to try it.
I always limit my children to 3 colour choices.. Is that bad? Everything just turns into a big brown mess otherwise. Does it make me seem better or worse if I admit that I limit my own colour palette too when I paint?
Another awesome idea!
What a brilliant idea! I love how simple it is and a great use of those orange bags you usually would throw away.
Paint colours are spectacular too!
My Prep/Year 1 class love this painting experience. I love it as it’s so easy to set up!
i’m a bit like hannah and put out a range of colours that blend well (ie red/yellow/orange/white, or blue/green/yellow, or blue/purple/pink/red/white) so they don’t end up too gross when my little monkeys do what they do best and mix them together :)
when i’m feeling like brown paintings i will just go crazy and give them a squirt of everything we have :)
I love the colour-mixing that comes out of this activity.
I love it too
This is my all time favourite toddler painting activity…although your colours are much nicer than i ever use hehe! I like your idea of the paper balls and tissue…i have always just used sponges cut up. They last forever too…i still have some from when my teen used to play with them!
Love his cute little face concentrating so hard!!
I love this idea! We will definitely be trying this very soon. My girls will love this. Thanks for sharing!
Love this idea! I like the texture that it gives.
For colors I always use two of the primary colors (and I use cyan, magenta and yellow instead of basic red and blue) and then white. This prevents the brown mess that can happen plus it helps them start to see how colors are made. I never give black because it is too strong.
I find it hard not to use either purple or blue. I made myself only give the kids red and yellow the other day and I do try to mix it up with colour combinations to give them different colour mixing options.. but yes, love blue and purple paint!
This looks like a lot of fun and I think my Noah will want to have a go too!
thank you for making this a simple, fast, and easy dabber diy to make. I need ideas simple like this ;D
Bubble wrap balls stuffed with paper an tied at the top is also really effective too
Precioso trabajo!
brilliant! Nice! Wonderful!!