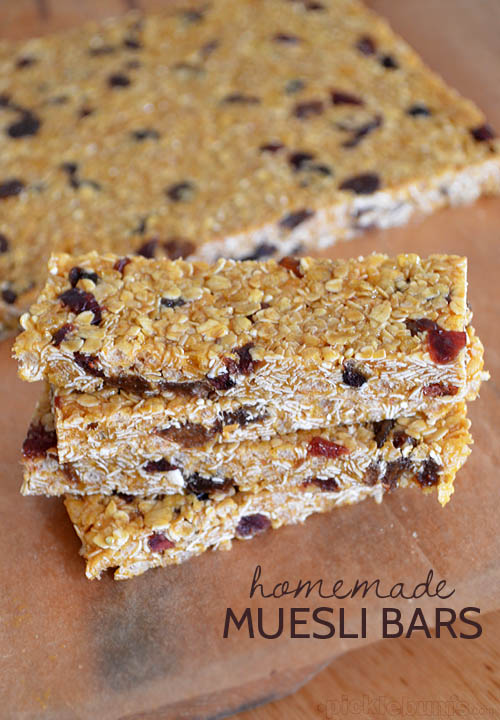
These homemade muesli bars are n-bake and you can customise the flavour with whatever add-ins you like. They are perfect for school lunches or afternoon snacks.
It took me a long time, a lot of tweaking, and a few catastrophic disasters before I finally mastered making homemade muesli bars.
This recipe is deceptively simple, but getting the right sticky to dry ratio to get the perfectly chewy, not crumbly, but not too sticky, muesli bar is not as easy as it seems. But there are a few tips and tricks to help you make perfect muesli bars every time… well almost every time… hopefully!
This recipe is based on a combination of this one from Back to the Cutting Board and this one from Zoe’s Lunch Box with my own tweaks and changes.
Whip up a batch of these homemade muesli bars and impress your kids with how awesome they are!
These homemade muesli bars are easy to customise with different add-ins, and they don't require baking.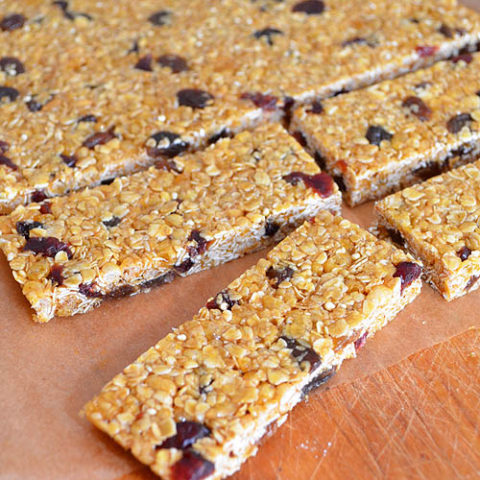
Homemade Muesli Bars
Ingredients
Instructions
Nutrition Information:
Yield: 16
Serving Size: 1
Amount Per Serving:
Calories: 148Total Fat: 2gSaturated Fat: 1gTrans Fat: 0gUnsaturated Fat: 1gCholesterol: 2mgSodium: 30mgCarbohydrates: 34gFiber: 1gSugar: 22gProtein: 2g
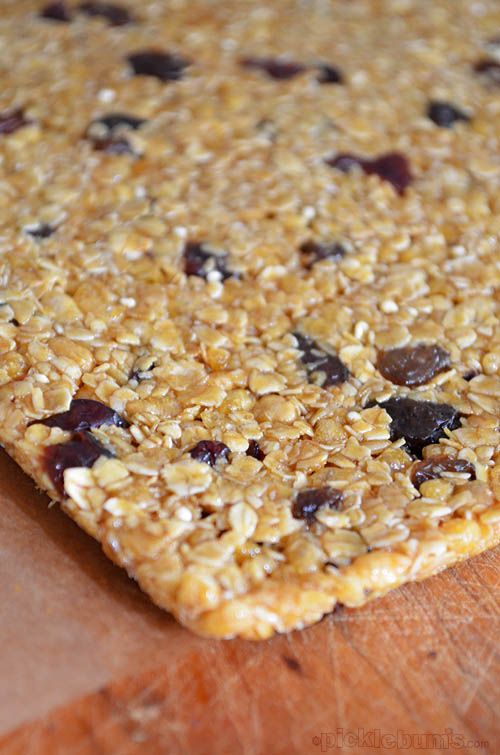
Homemade Muesli Bar Tips
Here are a few things I’ve learned along the way and some tips for making great homemade muesli bars.
1. Make sure you use quick cook oats, not just regular rolled oats. The quick cook oats have been cut into smaller bits and soak up the syrup better. You can whiz up some regular oats in the food processor but I found it was tricky to get exactly the right consistency so just gave.
2. Make sure you don’t over cook your syrup. You really want your sugar to just dissolve and not much more, so only let it boil for that two minutes then whip it straight into your mixture. If you find your bars are too sticky you could try cooking the syrup a tiny bit longer, but take it from me… and extra minute can mean the difference between muesli bars and muesli crumbles! Which, by the way are still tasty and great sprinkled over yoghurt for breakfast, so even my disasters were useful!
3. Make sure you push down the mix really firmly. The more you squish it down into the tin, the more firmly stuck together your bars will be.
Homemade Muesli Bar Add-ins
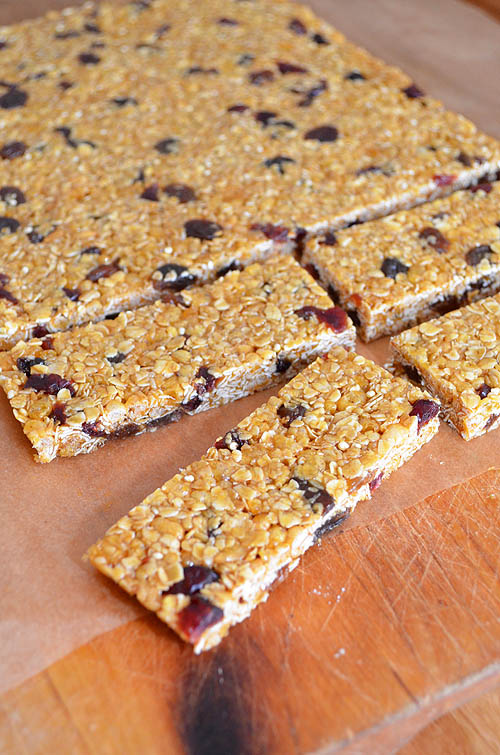
This recipe is really easy to change and add to to make the muesli bars whatever flavour you like.
We add the tablespoon of malt extract for the yummy flavour and the added bonus B vitamins, but the recpe works fine without it.
I often sprinkle a tablespoon or so of quinoa into the mix, or chia, or you could try any number of seeds or nuts depending on your likes and dislikes.
The recipe above calls for sultanas and dried cranberries but here are lots of other add-ins you could use insteads:
- Dried apple and cinnamon
- Dried apricot and coconut
- Dried mango and peaches
- choc chips (added to the top)
- mini marshmallows (added to the top)
- 100s and 1000s or sprinkles
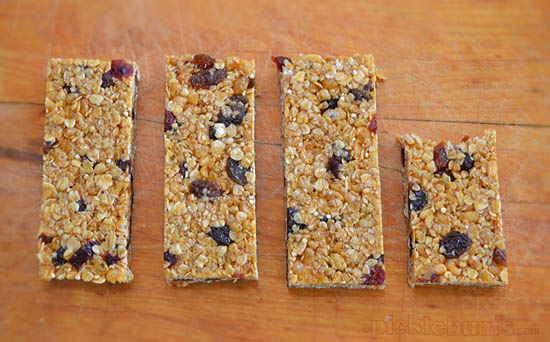
Muesli bars can be expensive to buy, and if you have nut allergies (like my kids do) it can be hard to find one without an allergy risk, so it’s worth the effort to have a go at making your own. Hopefully, with this recipe, and my tips, you’ll be making the perfect homemade muesli bars to impress your kids!
(This recipe was originally Posted 08/04/2013 – Updated 30/06/2019)
If you are looking for more great snacks for kids, check these out…

I know I should have read through this first (!) but like irna, I followed the instructions step by step only to realise that “all the dry ingredients” didn’t include the sugar. Oops! In fridge now but I’m not confident they will hold together. Perhaps you could consider rewriting the first bit of the recipe? Thanks!
oh I missed that earlier comment.. so sorry!
Thanks for pointing this out, have updated the instructions now :)
Oh wow that was fast. Thanks! Mine turned out ok – a bit crumbly but they still work and delicious!
Hey there! Its Sarah from zoeslunchbox.com. Thanks for including our link, and your take on these bars looks fabulous! Going to have to give yours a whirl! Yum!
Made these today, all 3 of my boys love them – this does not happen often! Thanks so much for this quick and easy recipe :)
Finally had a chance to make a second batch. These are amazing! We added coconut and sunflower seeds this time :)
BTW, if you do end up with the crumbly variety (as I did with another recipe) – I rolled it up with a lot of dried cranberries as a filling in a sheet of yufka pastry. Bake, and you end up with something portable after all. Plus, you can cut down on the fat and sugar that way as they do not need to be so firm!
I found this recipe searching under Thermomix recipes. :( no Thermomix instructions. I’m sure it’s a fabulous recipe
No idea why you would have found this in a thermomix search as this is not a thermomix recipe, and the post doesn’t mention it at all… you don’t need a thermomix to make this, just a stove and a saucepan!